Tie Dyed Eggs for Easter

I’ve been eyeing Easter eggs dyed with silk ties on Pinterest for years. A couple years ago my friend and I went to a Goodwill store and actually bought the requisite ties, but they were stashed away in a drawer like so many other unfinished projects.

Yesterday I finally mustered the energy to dye the eggs…It turned out to be a lot more work than I anticipated, mostly because I wanted to try it with blown out eggs I could keep. Hello, my name is Adrienne, and I am a Hoarder.

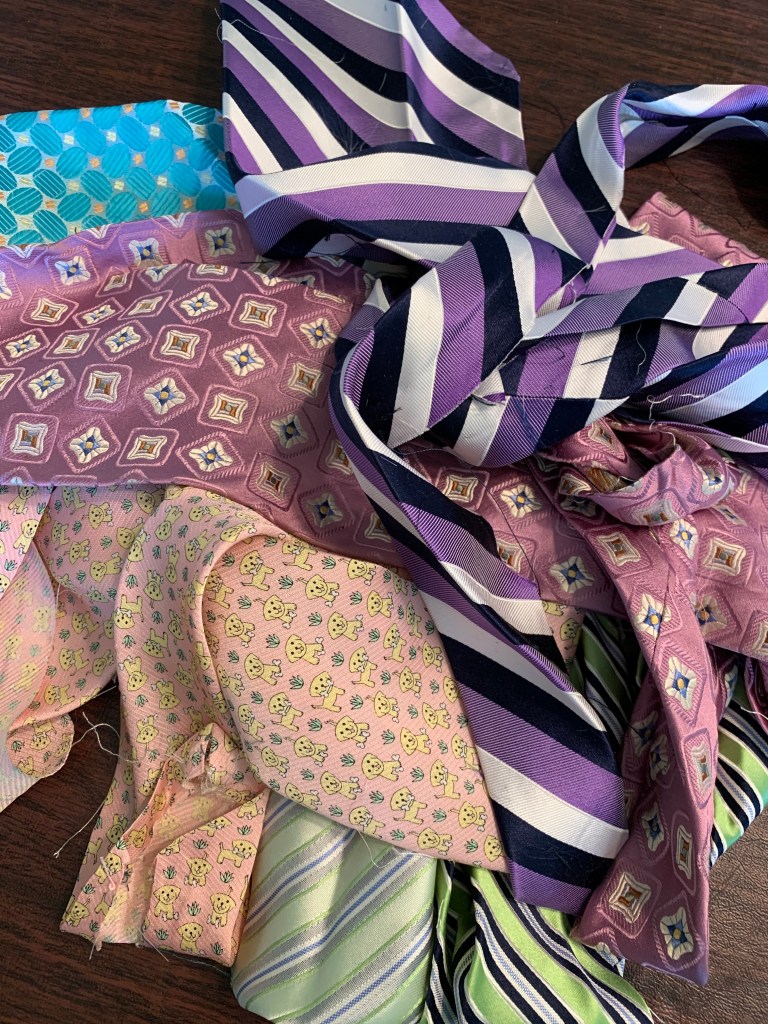
In case you want to try it, I have a few suggestions. I’m not sure why, but for some reason the ties have to be 100% silk. You have to pick apart the ties and you’ll probably only be able to get about two pieces big enough to wrap the eggs. The ones that worked best were made of the thinnest silks. I was disappointed that the tie in the next photo, for example, did not transfer its dye at all. The tighter and smoother you can wrap the eggs the better.

Shall I even bother to tell you how I blew out the eggs? It was such a pain and a mess, I don’t think I’ll ever do it again! Again, I’m not sure why, but it’s supposed to be helpful to put the eggs in warm water for about ten minutes before working with them. My daughter and I made holes on either end with an unfolded paper clip and wiggled it around to make the holes large enough. The paper clip also breaks up the yolk, which makes it easier to blow out. We used a bulb syringe to blow out the eggs. We used that same syringe to try to fill the eggs with water so that they would sink in the pan, but they still floated up and bobbled around in the pan. We tried weighing them down with various utensils with little success.

After filling the eggs with water, (or just using hard boiled eggs like a normal human being!), you wrap them with the right side of the silk. You wrap that with some light-colored cotton fabric. I cut up a flour sack cloth for the purpose. We used flexible wire cut to length to twist around the top of the eggs, but you could also use twist ties or rubber bands.

Cover eggs with water and add about 1/4 cup vinegar. Bring to boil, then simmer 20-30 minutes.

Weekend Snapshots 58: Easter Fools Editions

Friday

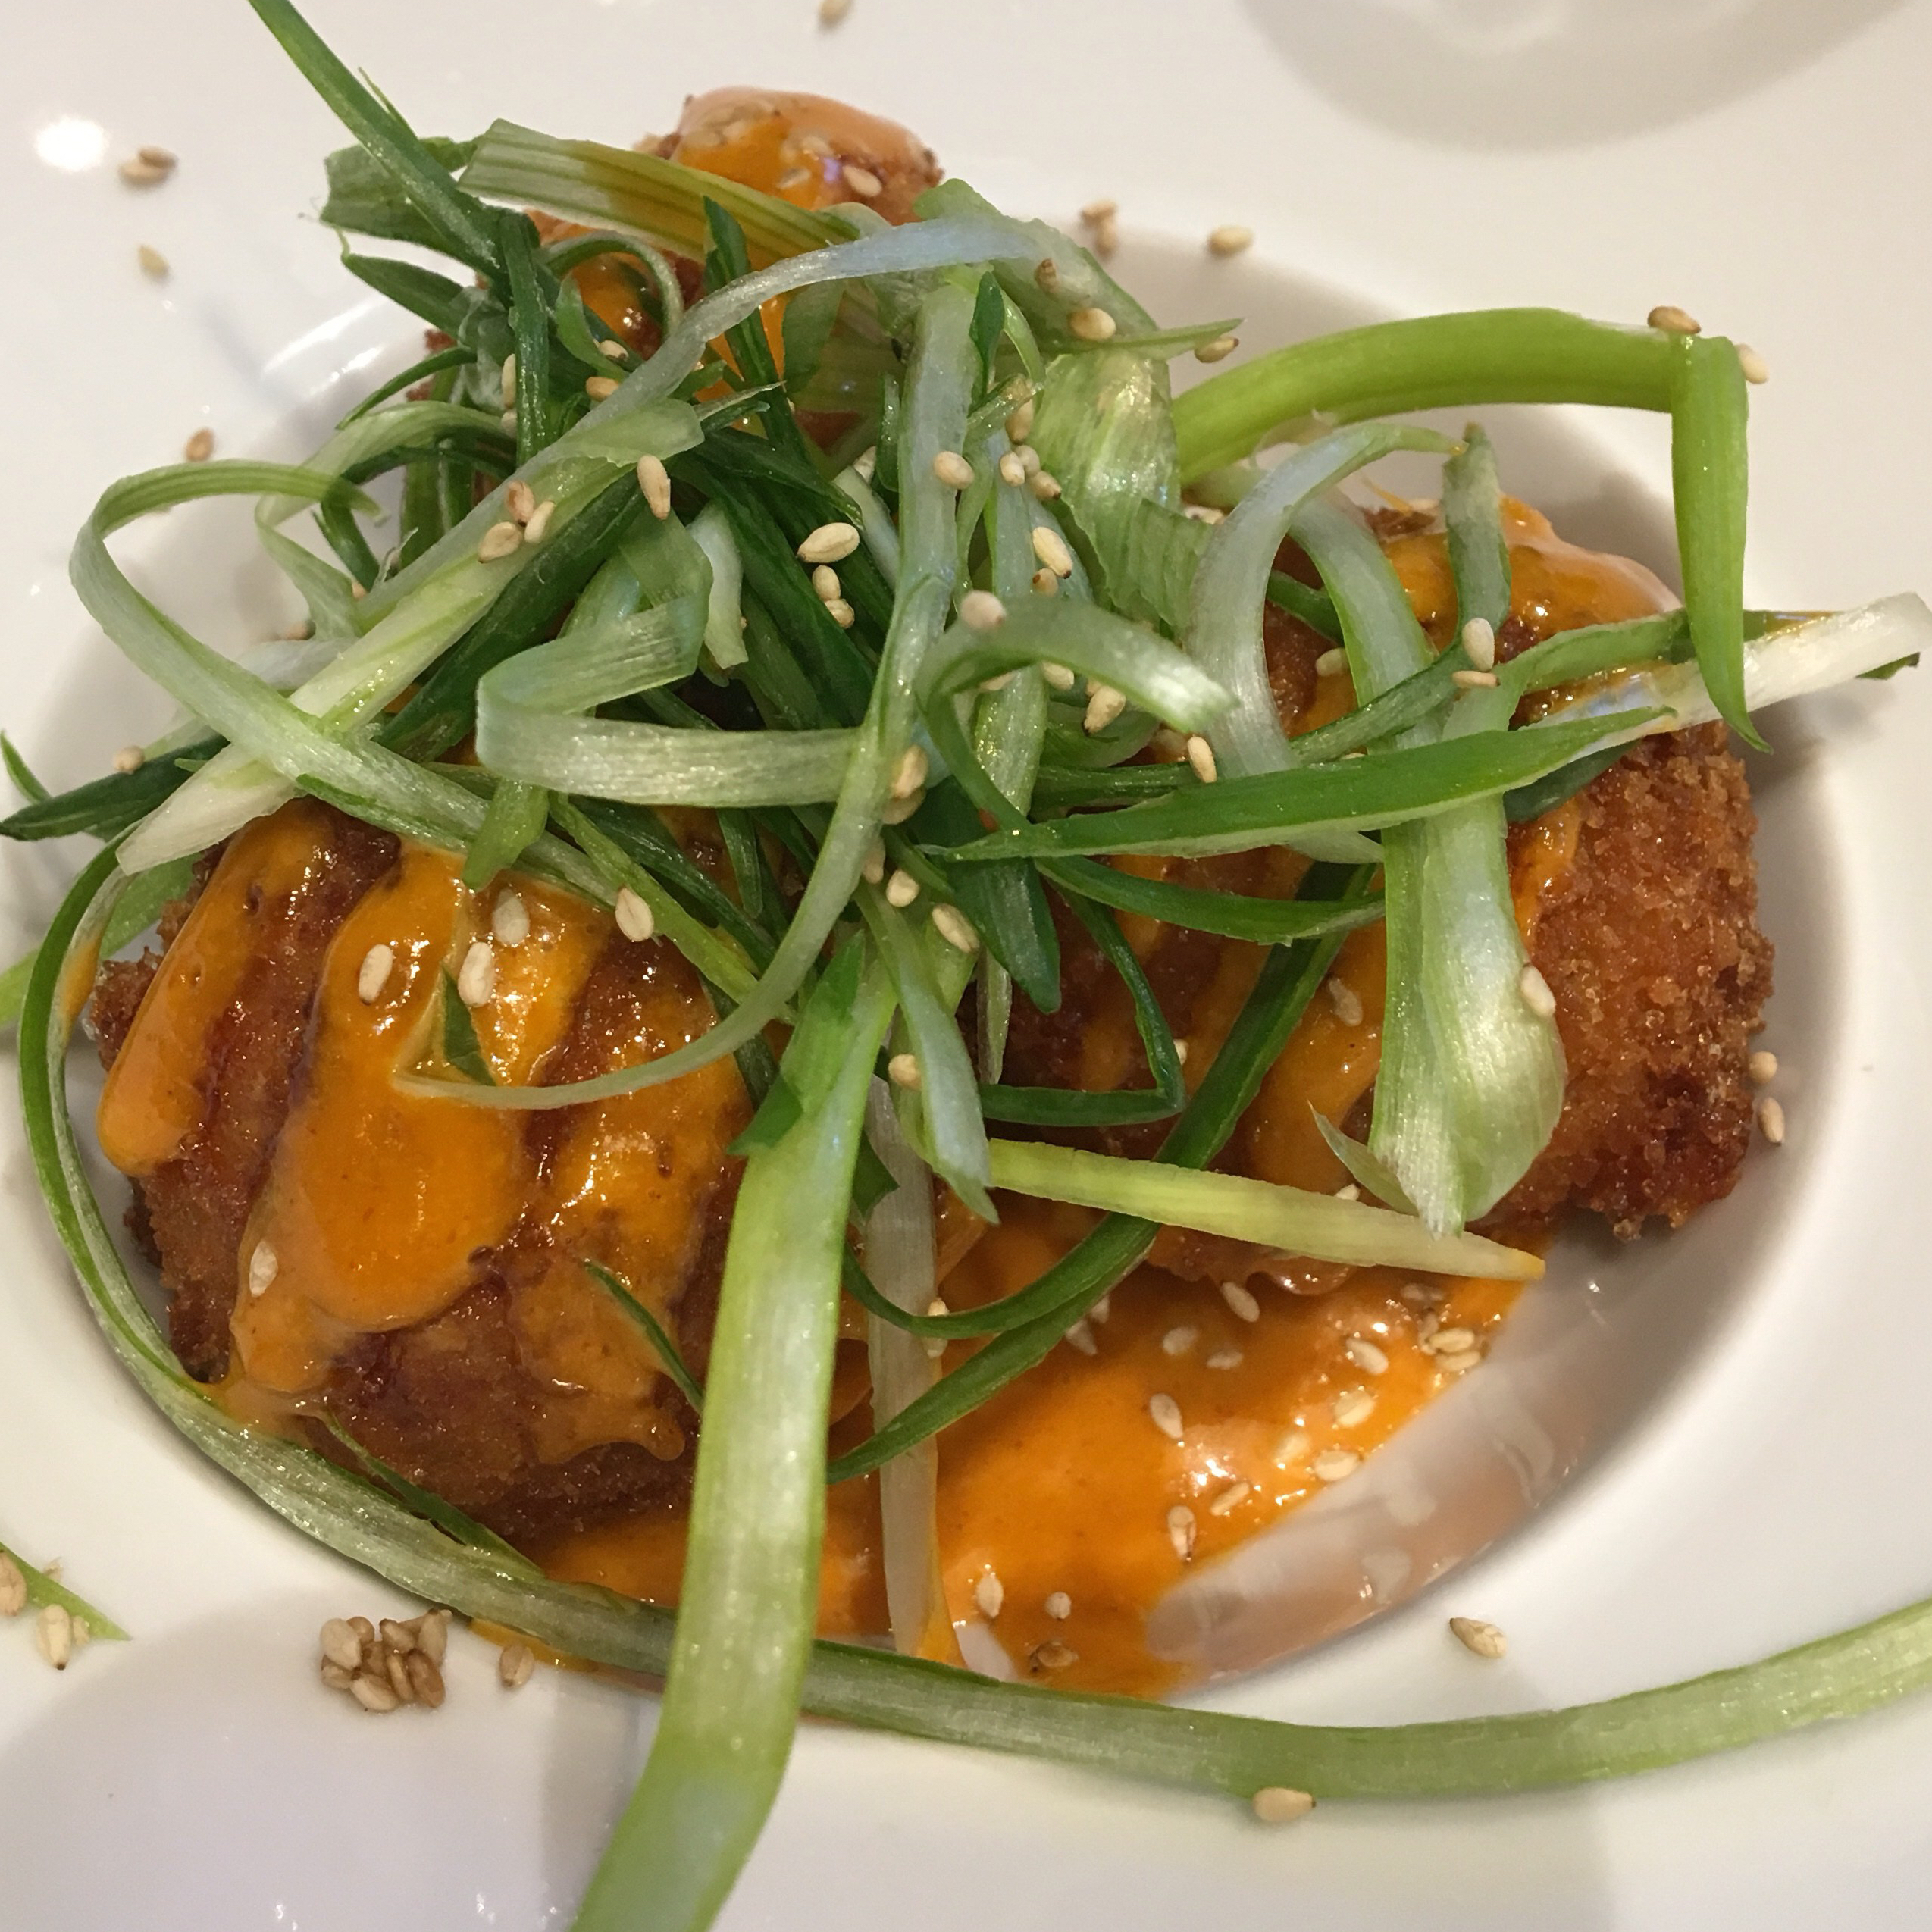
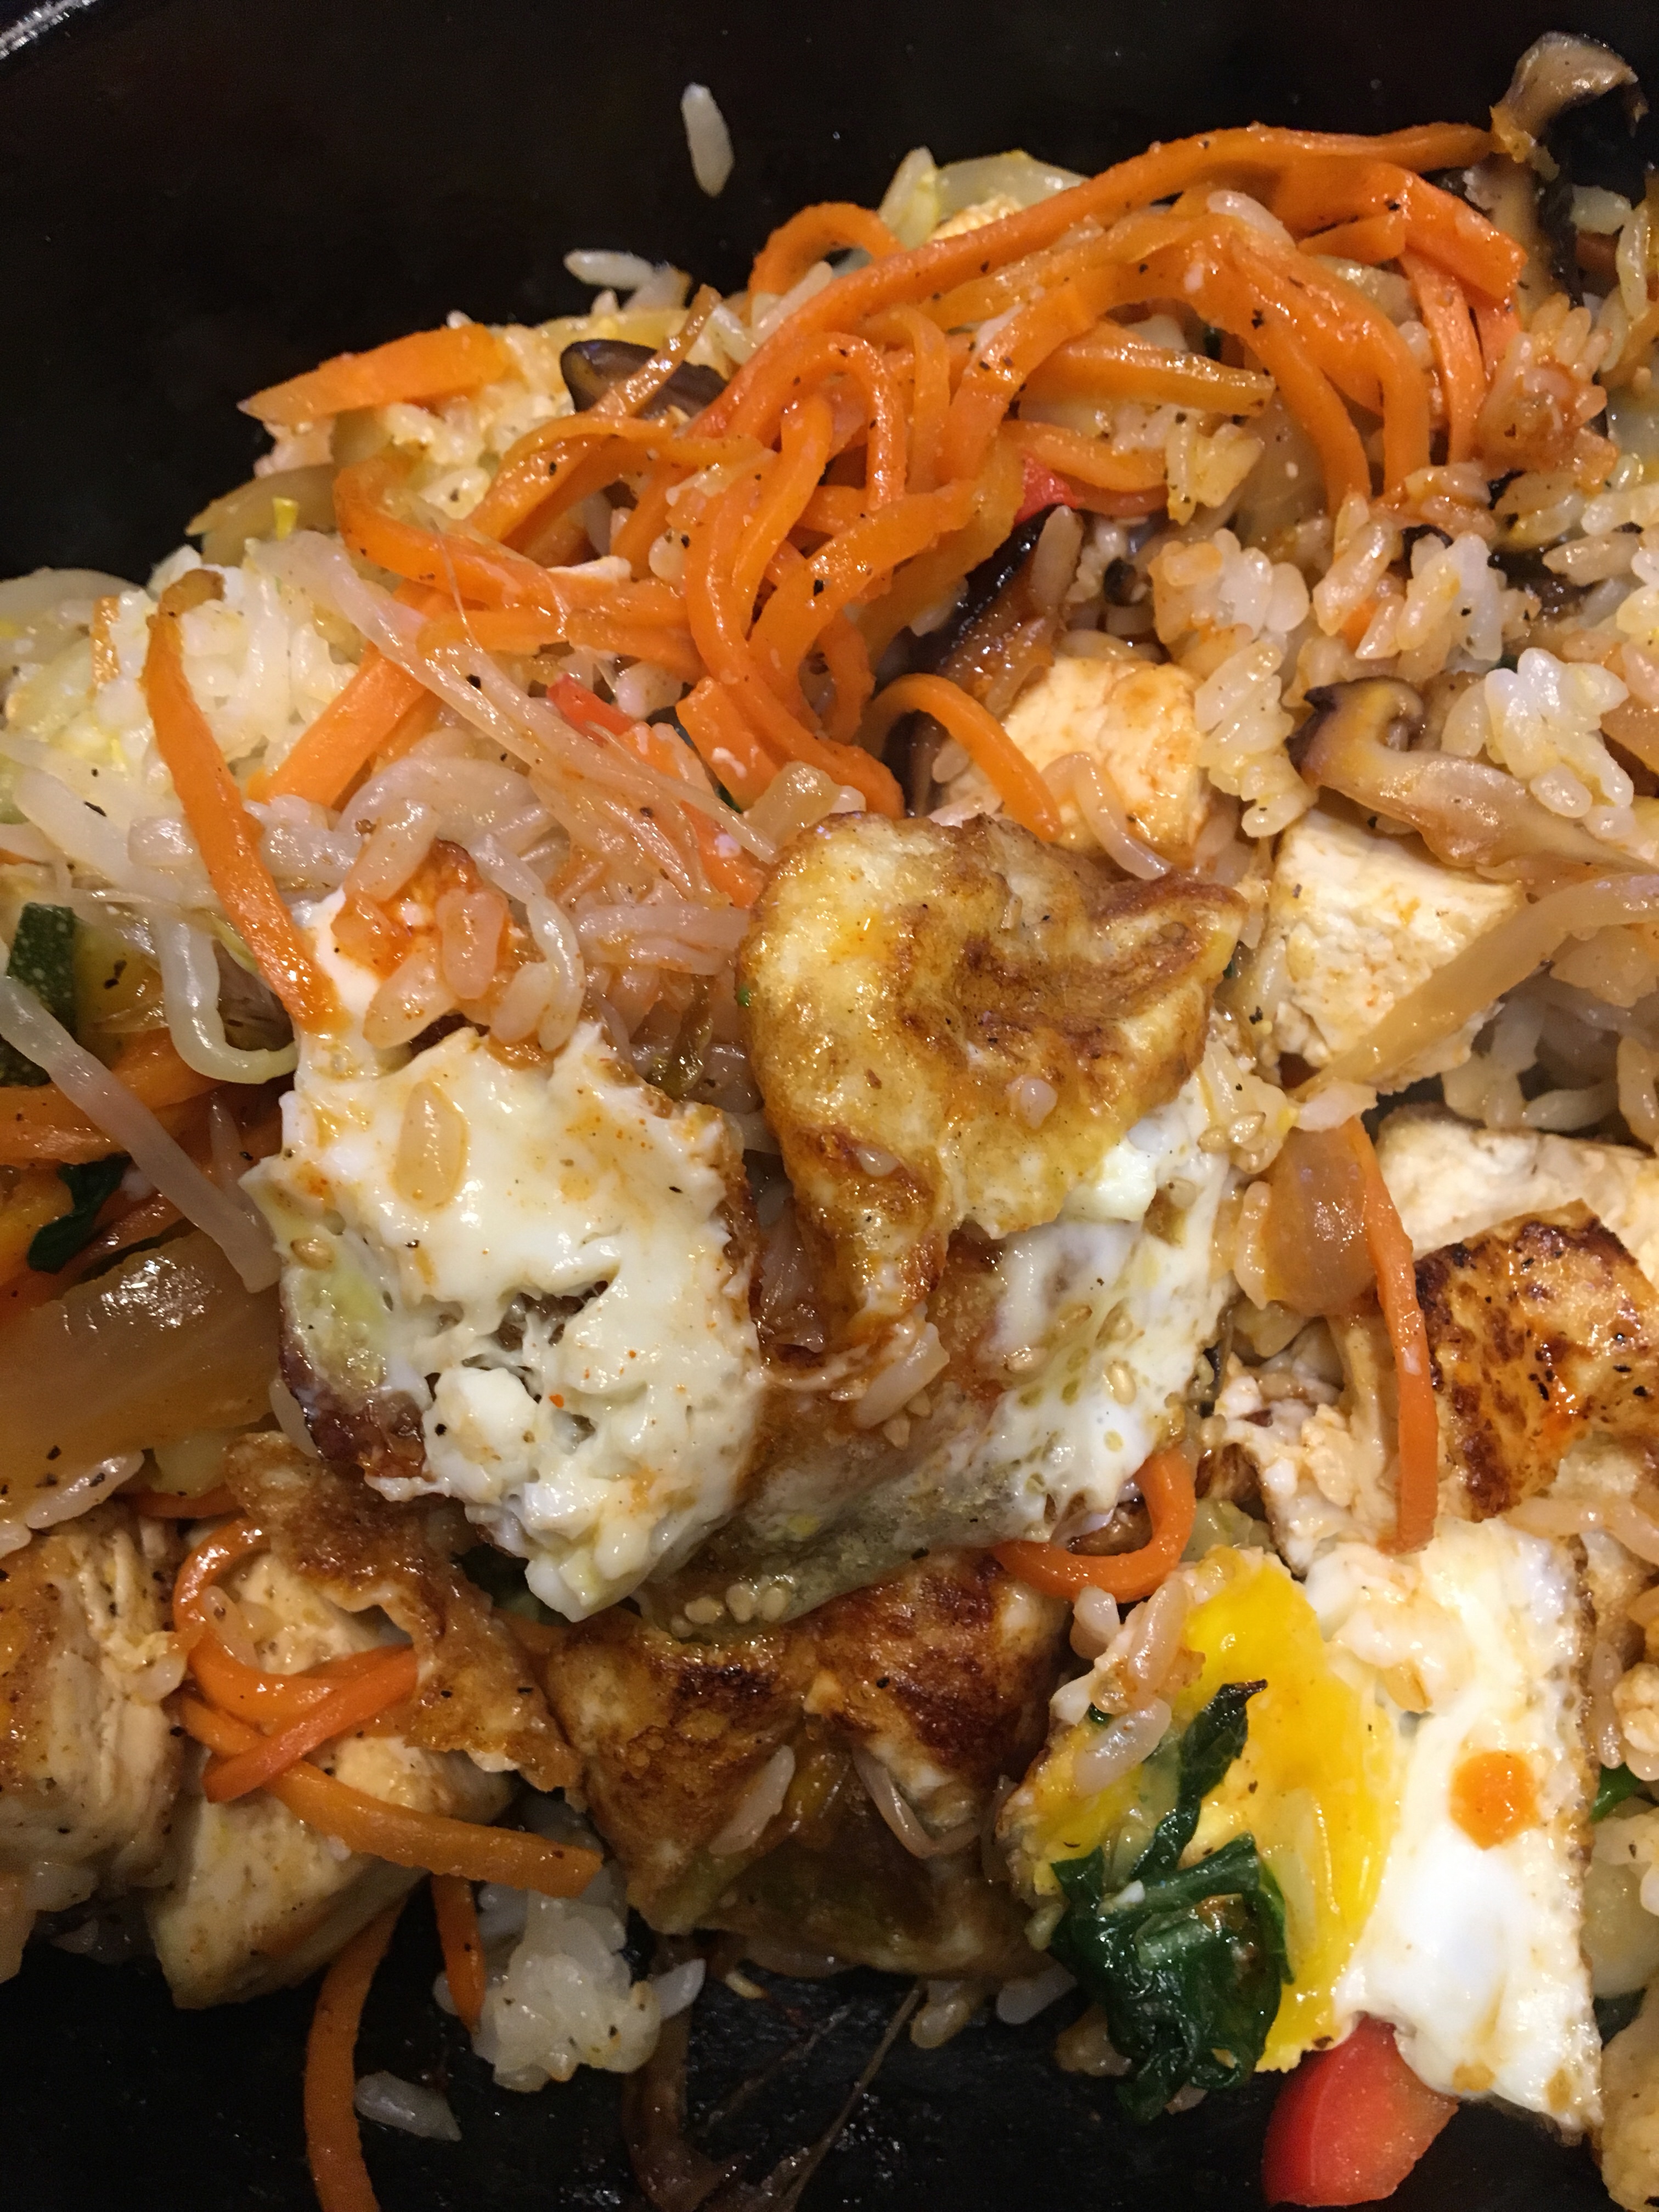
We celebrated the start of the kids’ spring break at Maru, the new Korean restaurant on Charlottesville’s Downtown Mall.

img_3495-1

There are some interesting twists on the menu, like kimchi arancini.img_3497

And there are straight classics, like dolsot bibimbap.

The kids loved their bossam, (lettuce wraps).

Saturday

Virginia Bluebells always remind me of this scene in Sleeping Beauty, when the fairy godmothers try to outspell each other to make her dress blue, no pink, no blue!

When my mother-in-law’s primulas start blooming, I know it really is spring at last. 

I took the kids to see Fun Home at LiveArts. The themes and language were far more adult than I was expecting, but the musical was deeply moving and beautifully performed.

img_3522

Sunday

I awoke in the early hours of the morning to the sound of tape being ripped with ferocious intensity. The night before the younger two made their declaration of war. Their older brother asked to be left out of the battle. It took me a moment to figure out that the Great April Fools Easter War of 2018 had officially begun.

The noise I had heard was the sound of the 15 year old taping saran wrap to his sister’s bedroom door. She had frozen his toothbrush in a mug of water the night before. He retaliated by using his Water Pik against her like a makeshift water gun. She in turn attacked him with chalk fingerprints all over his choir robe.

Finally, after singing for two Easter services in a row, we were all feeling rather exhausted.

“Please, let’s stop this. I can’t take anymore,” the 15 year old said as we trudged back to the car.

The 12 year old was exultant: “Does that mean I won?!”

“Yes! You won. I’ll take my punishment. But, please let me do it tomorrow. I just can’t face it today.” (More on that later).

And so an Easter Armistice was declared.

The kids celebrated the end of war with the Easter egg hunt that awaited them back at home…

The biggest hit was the new basketball the Easter bunny left for them…

That evening we sat down to a traditional Easter dinner…if Easter just so happened to coincide with April Fool’s Day…The parents had one last trick up their sleeve:

Oh…and that punishment I mentioned earlier?

img_3609.jpg

img_3610img_3612

Happy Easter

The five of us sang at four different Easter services at two different churches this morning. IMG_9088
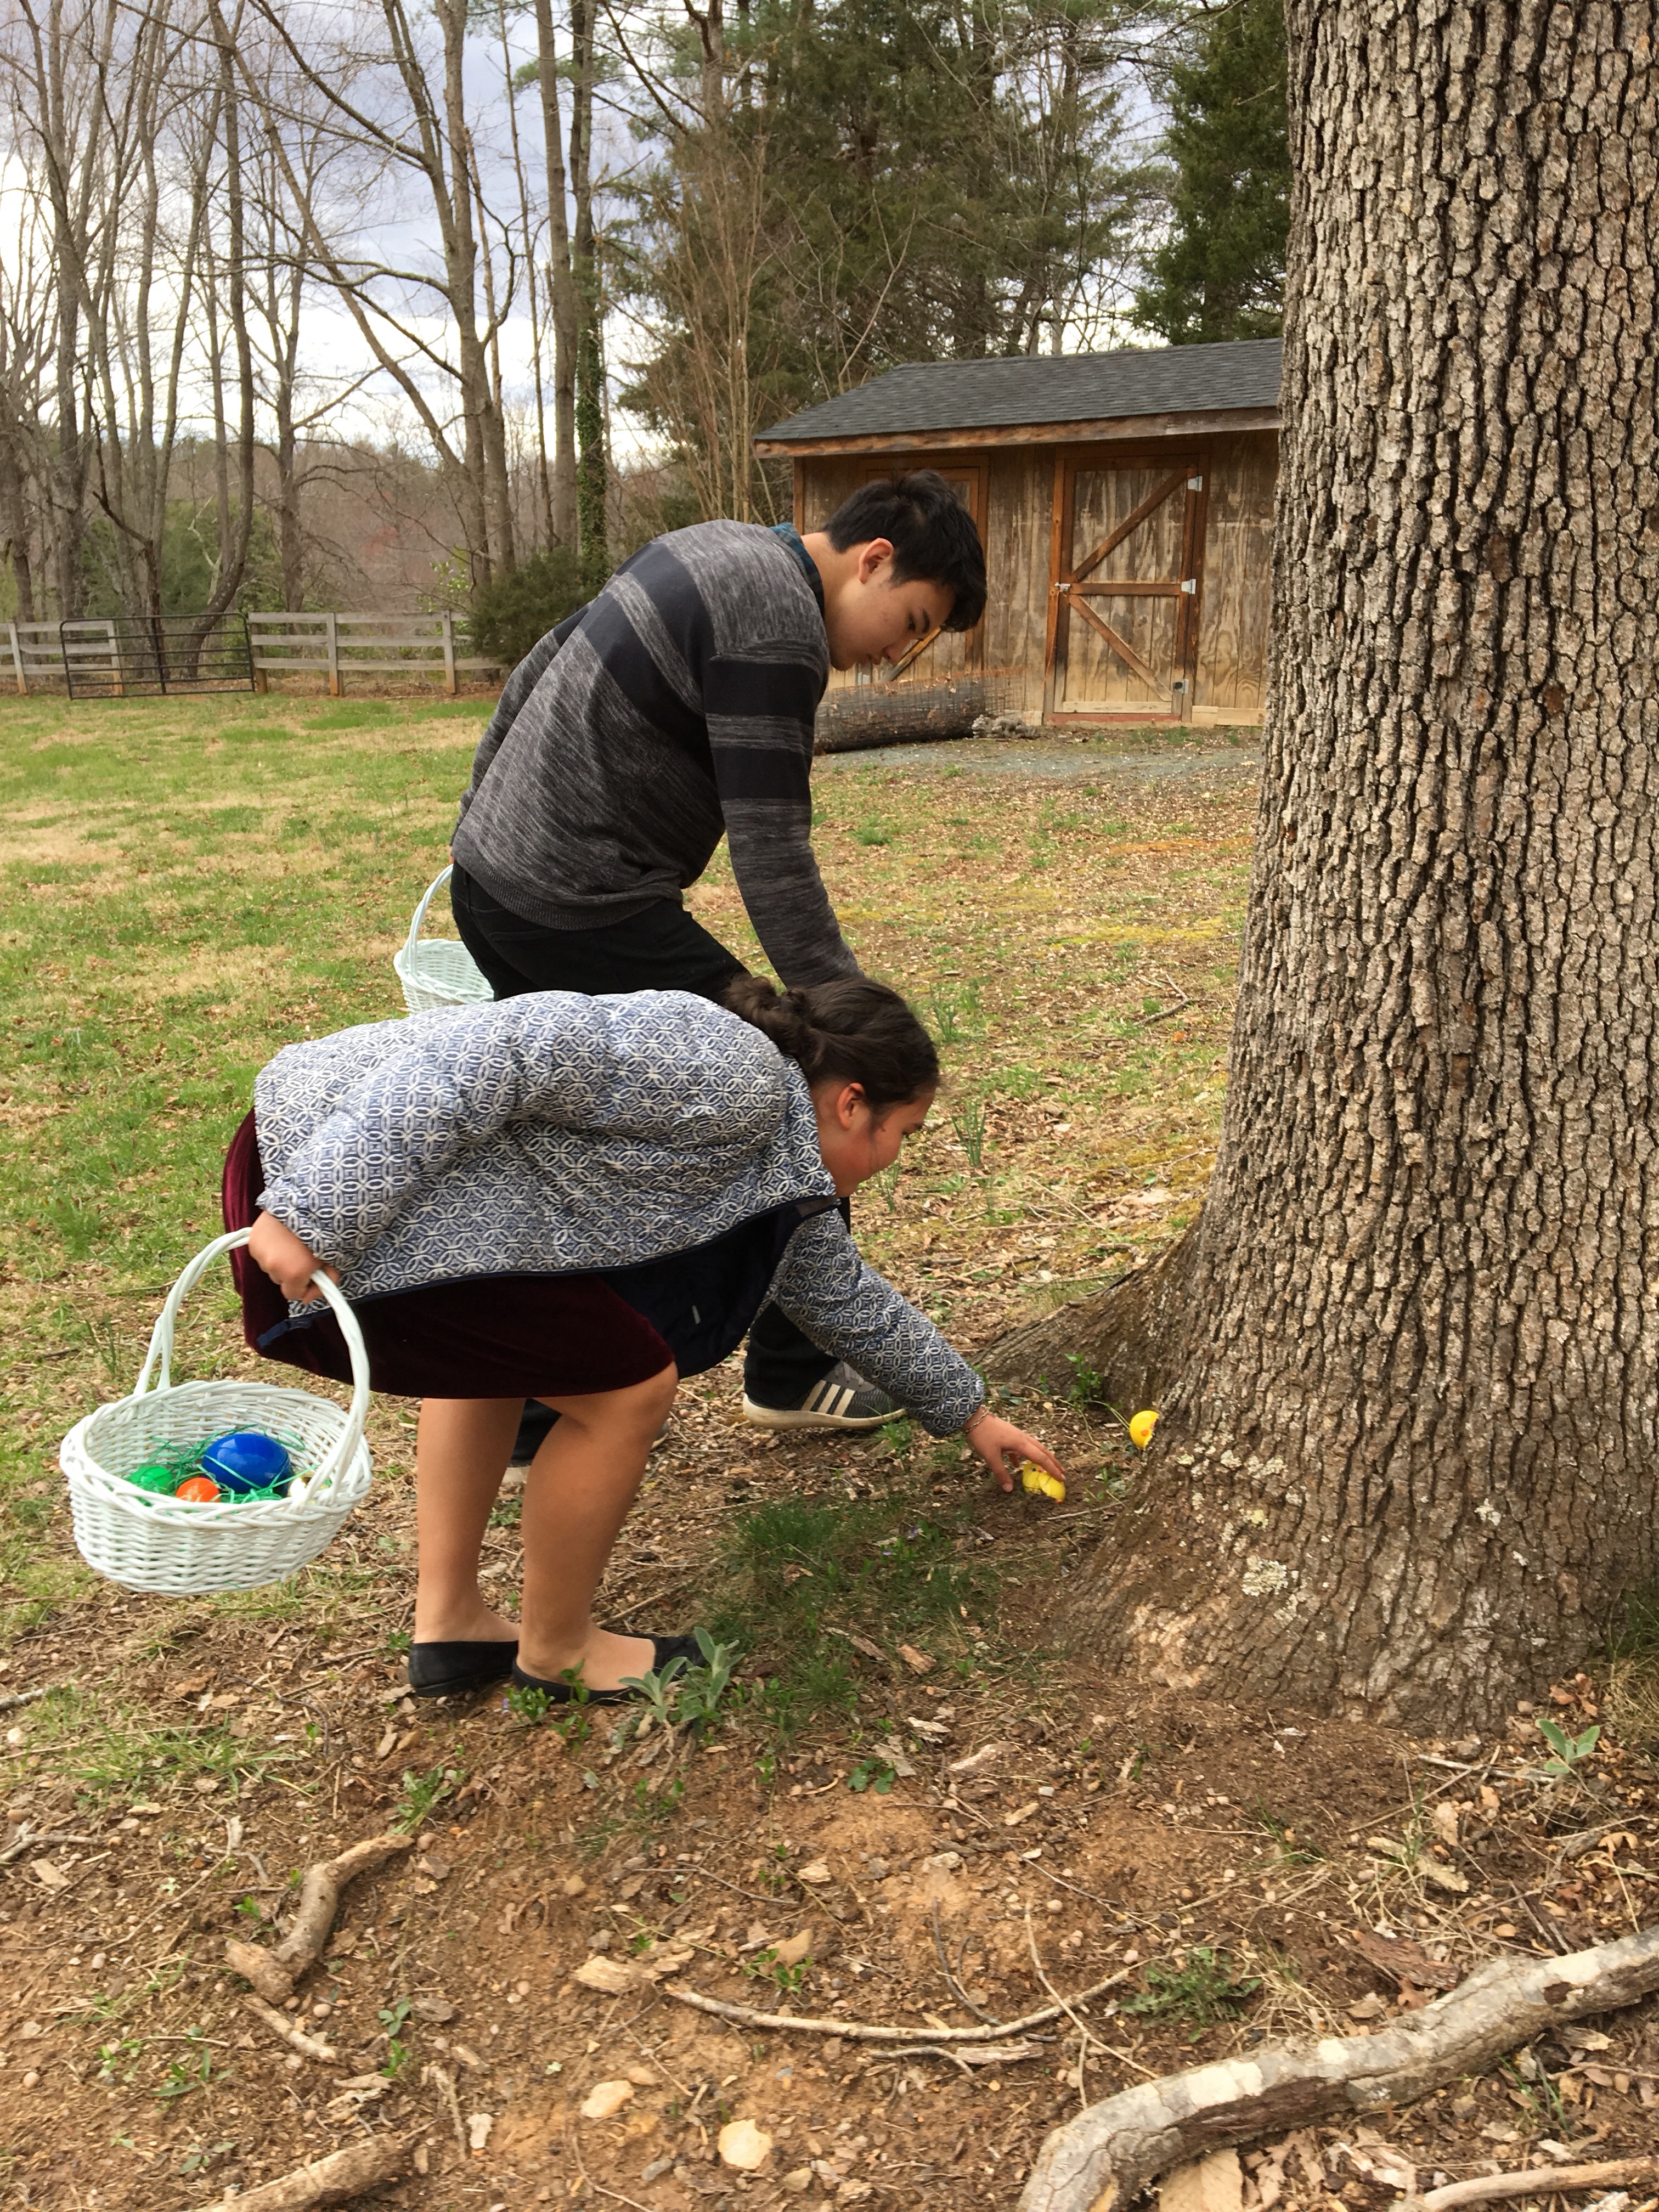
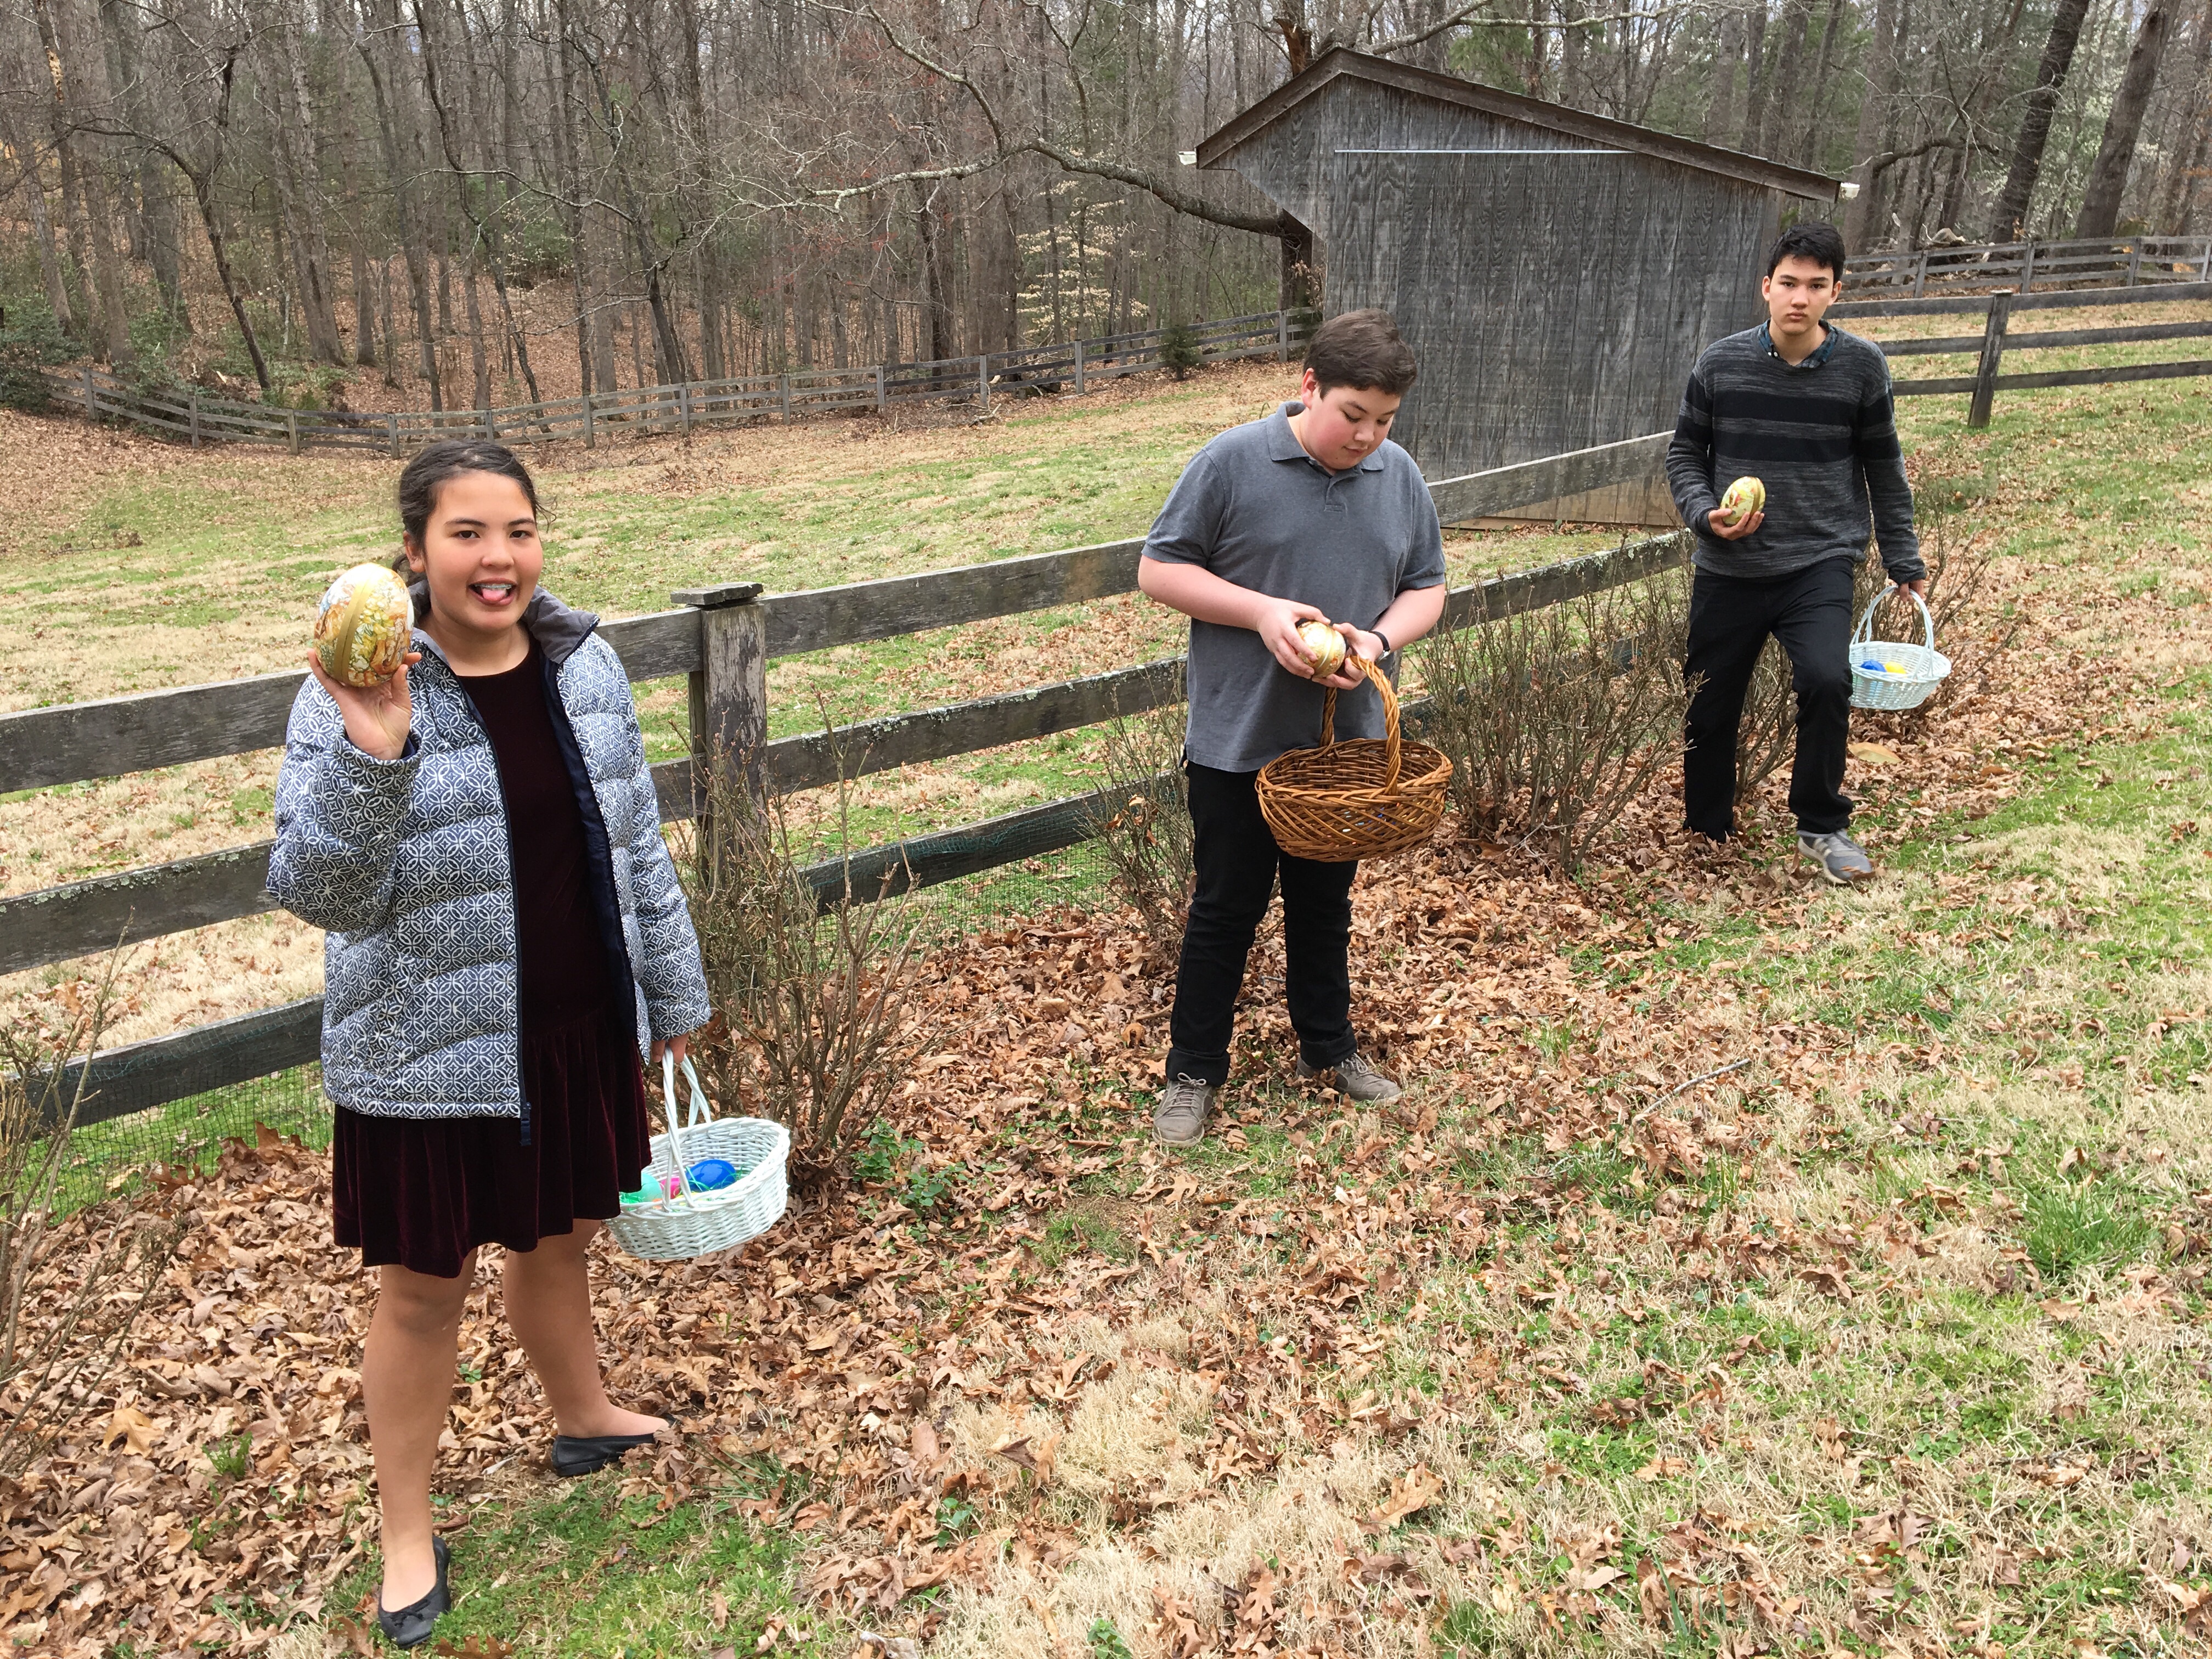
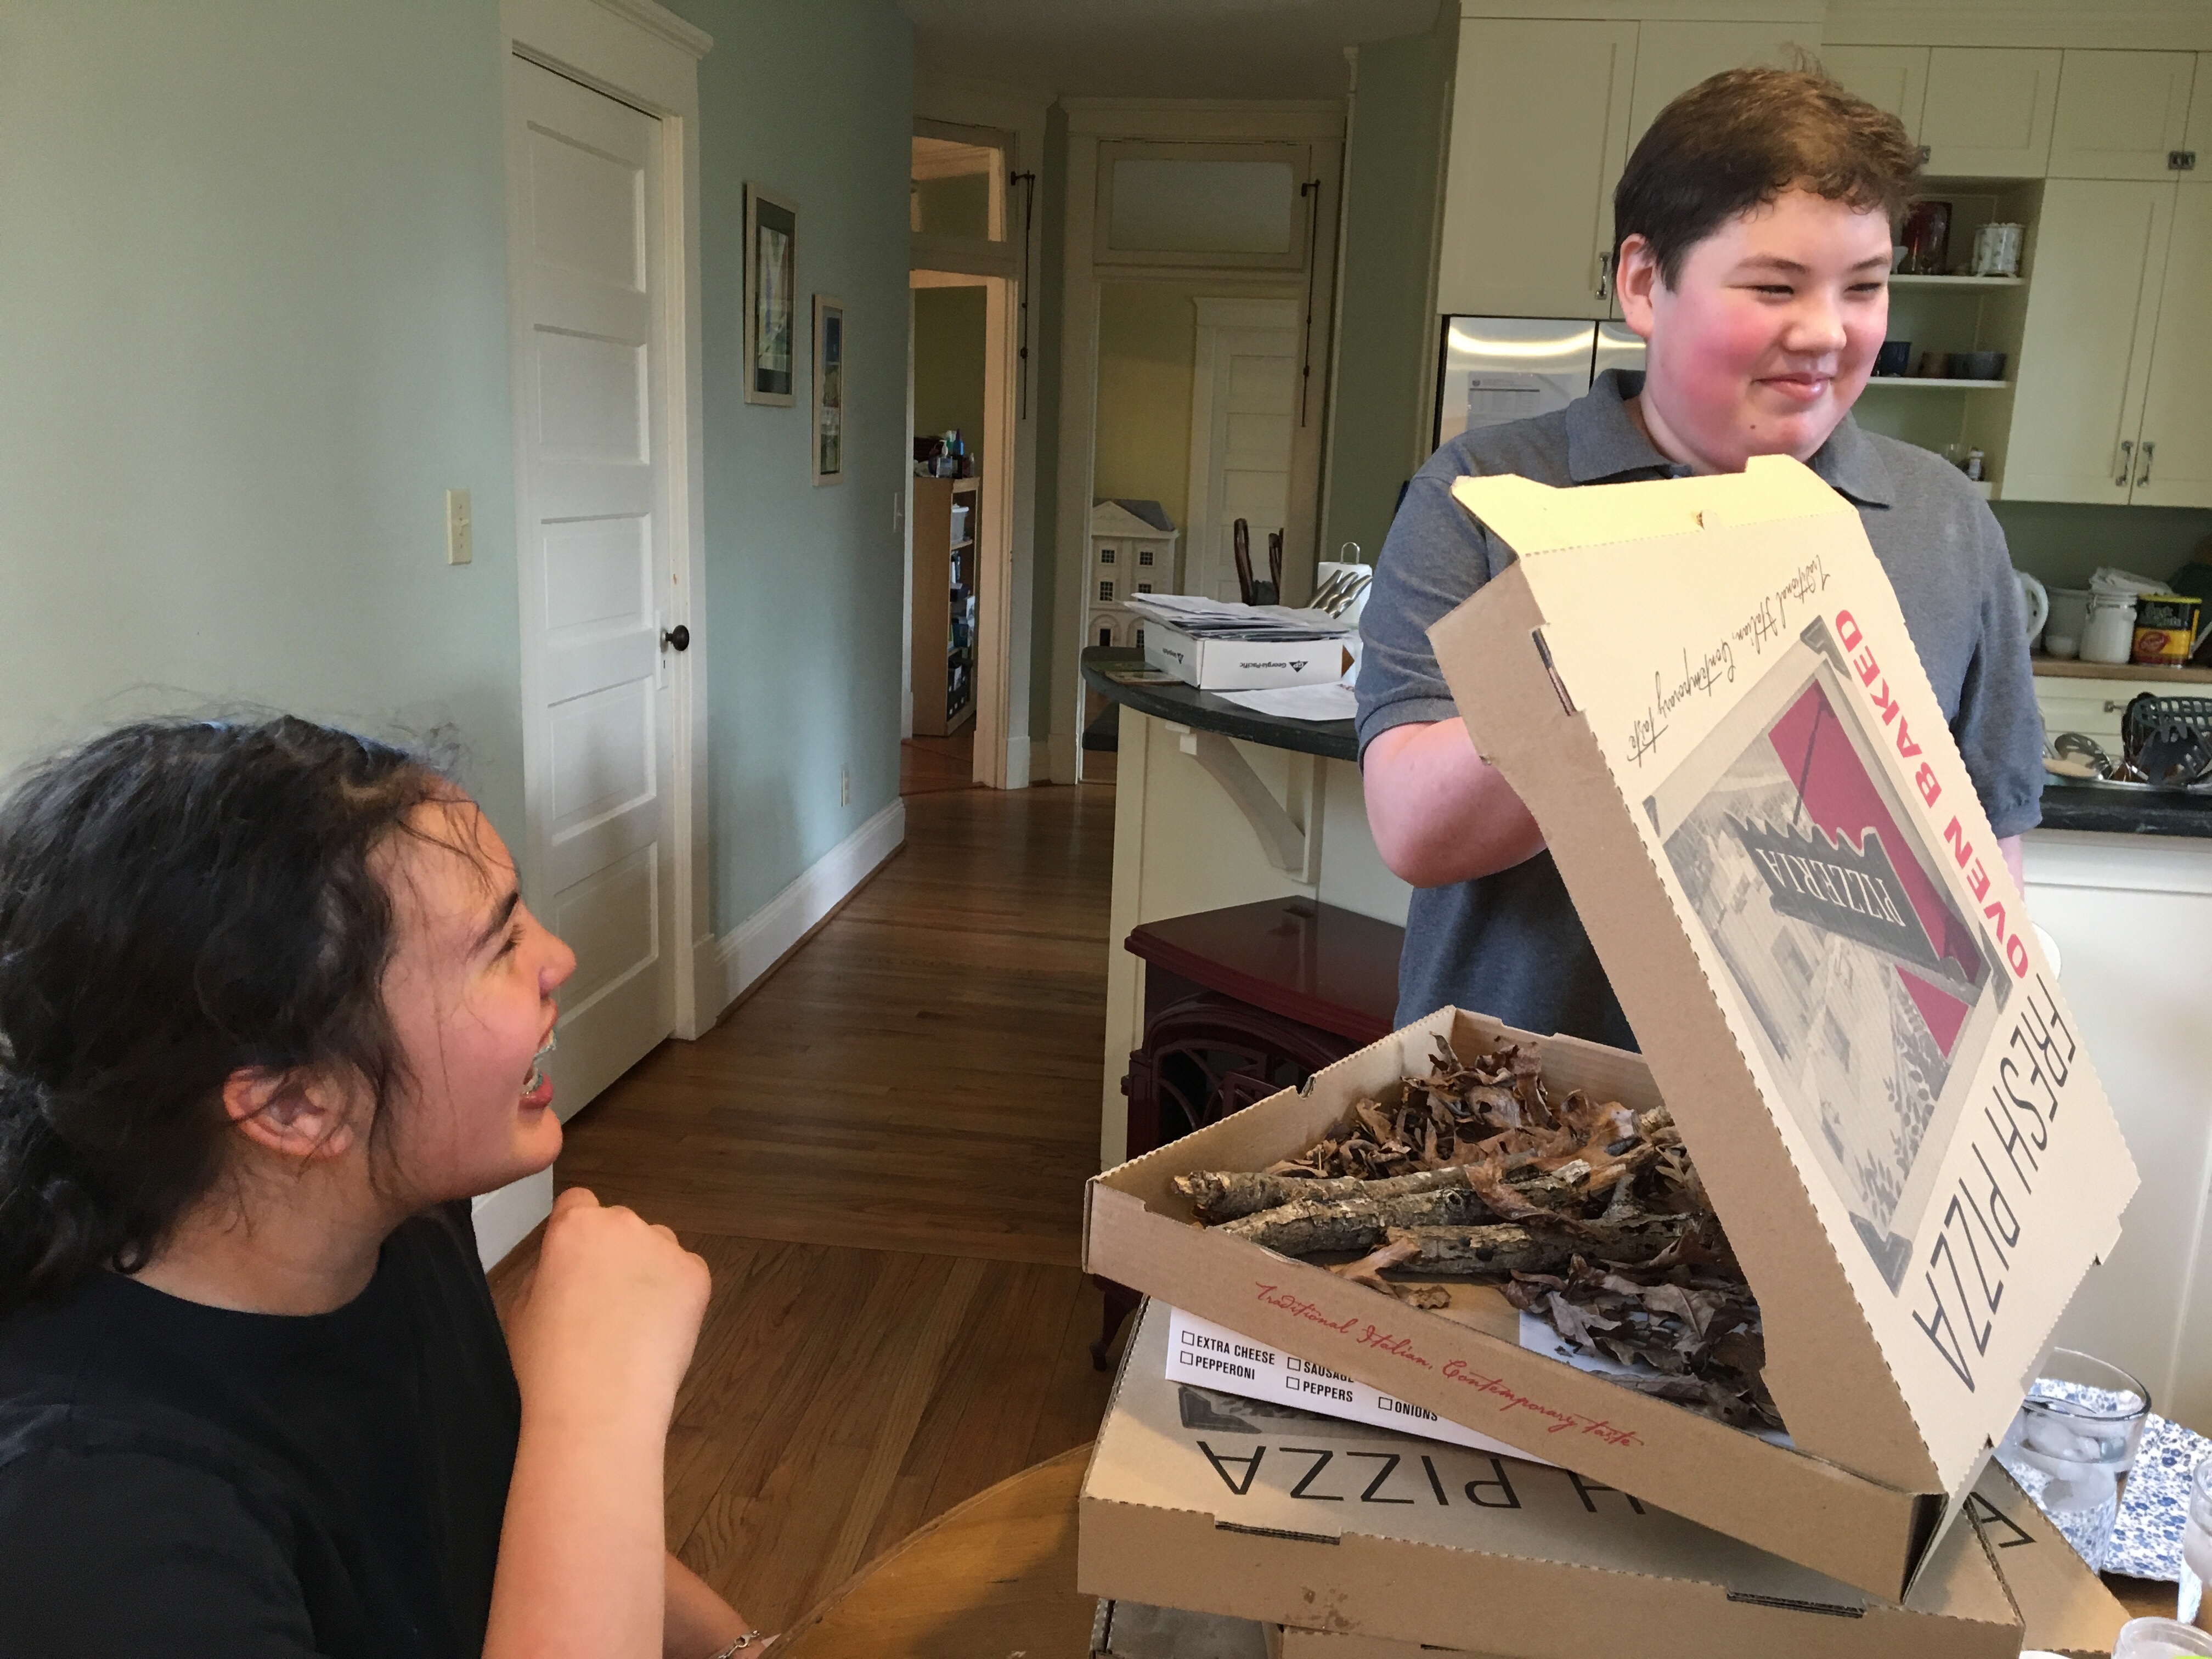
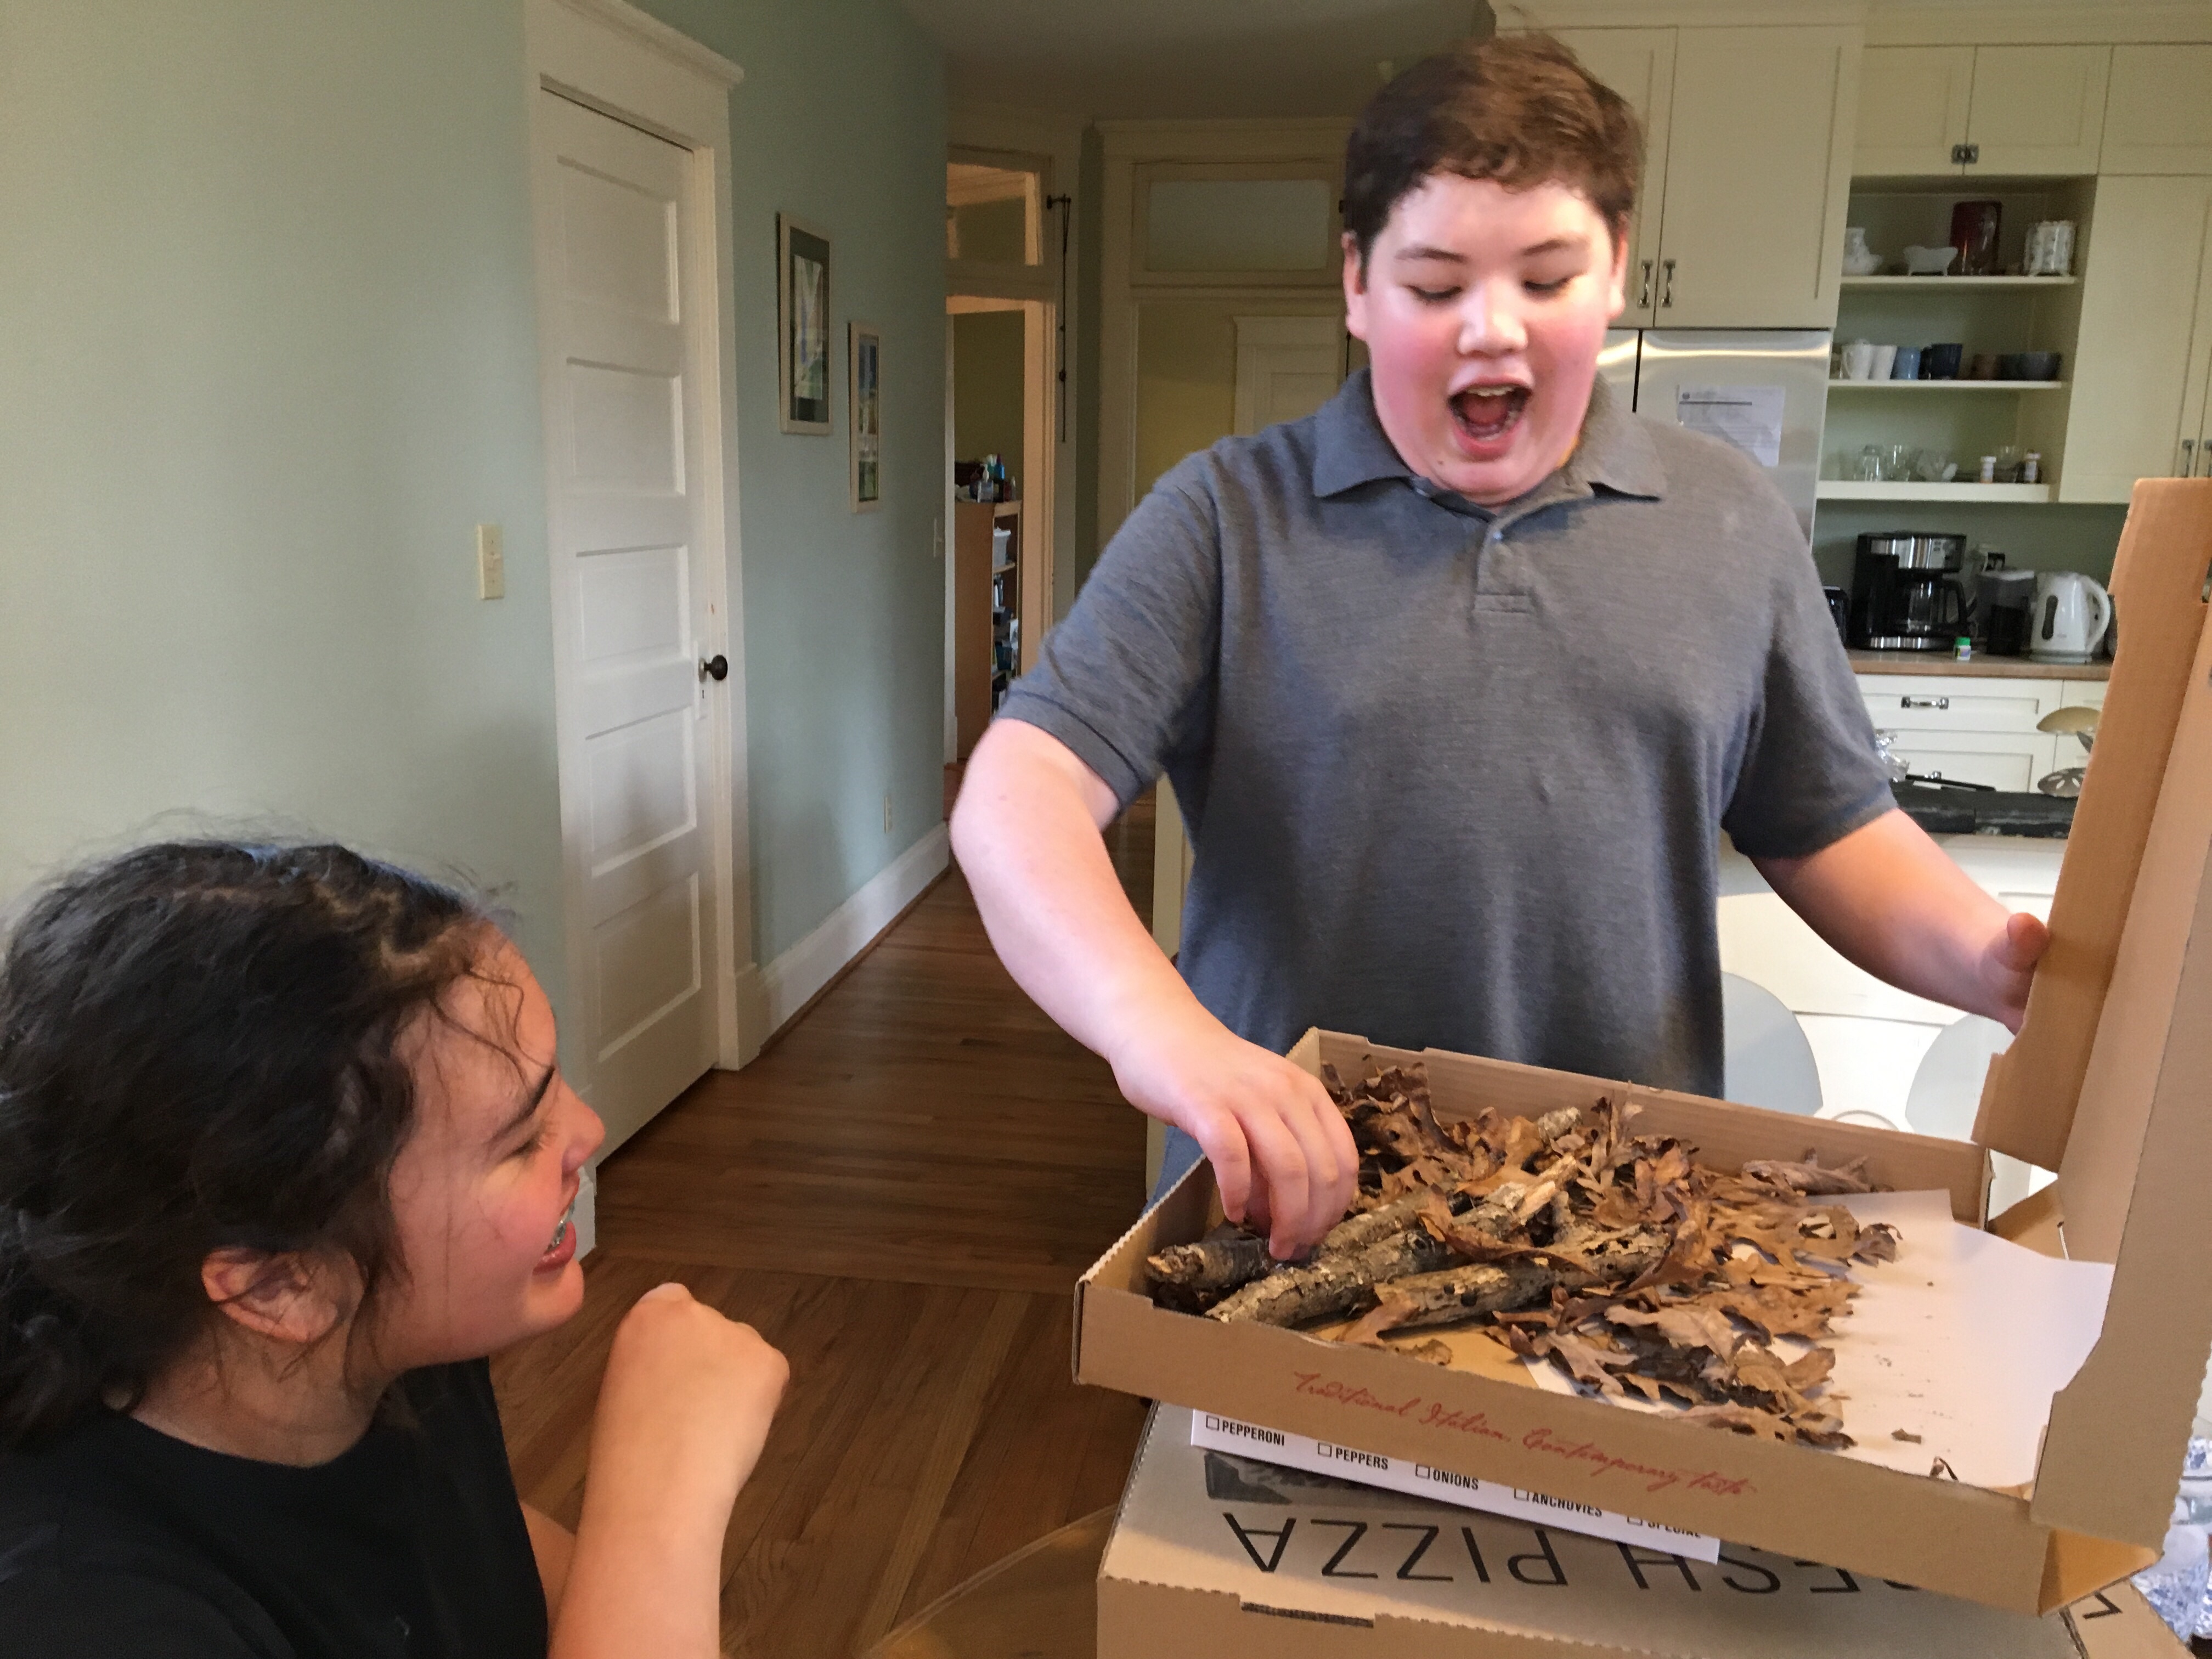
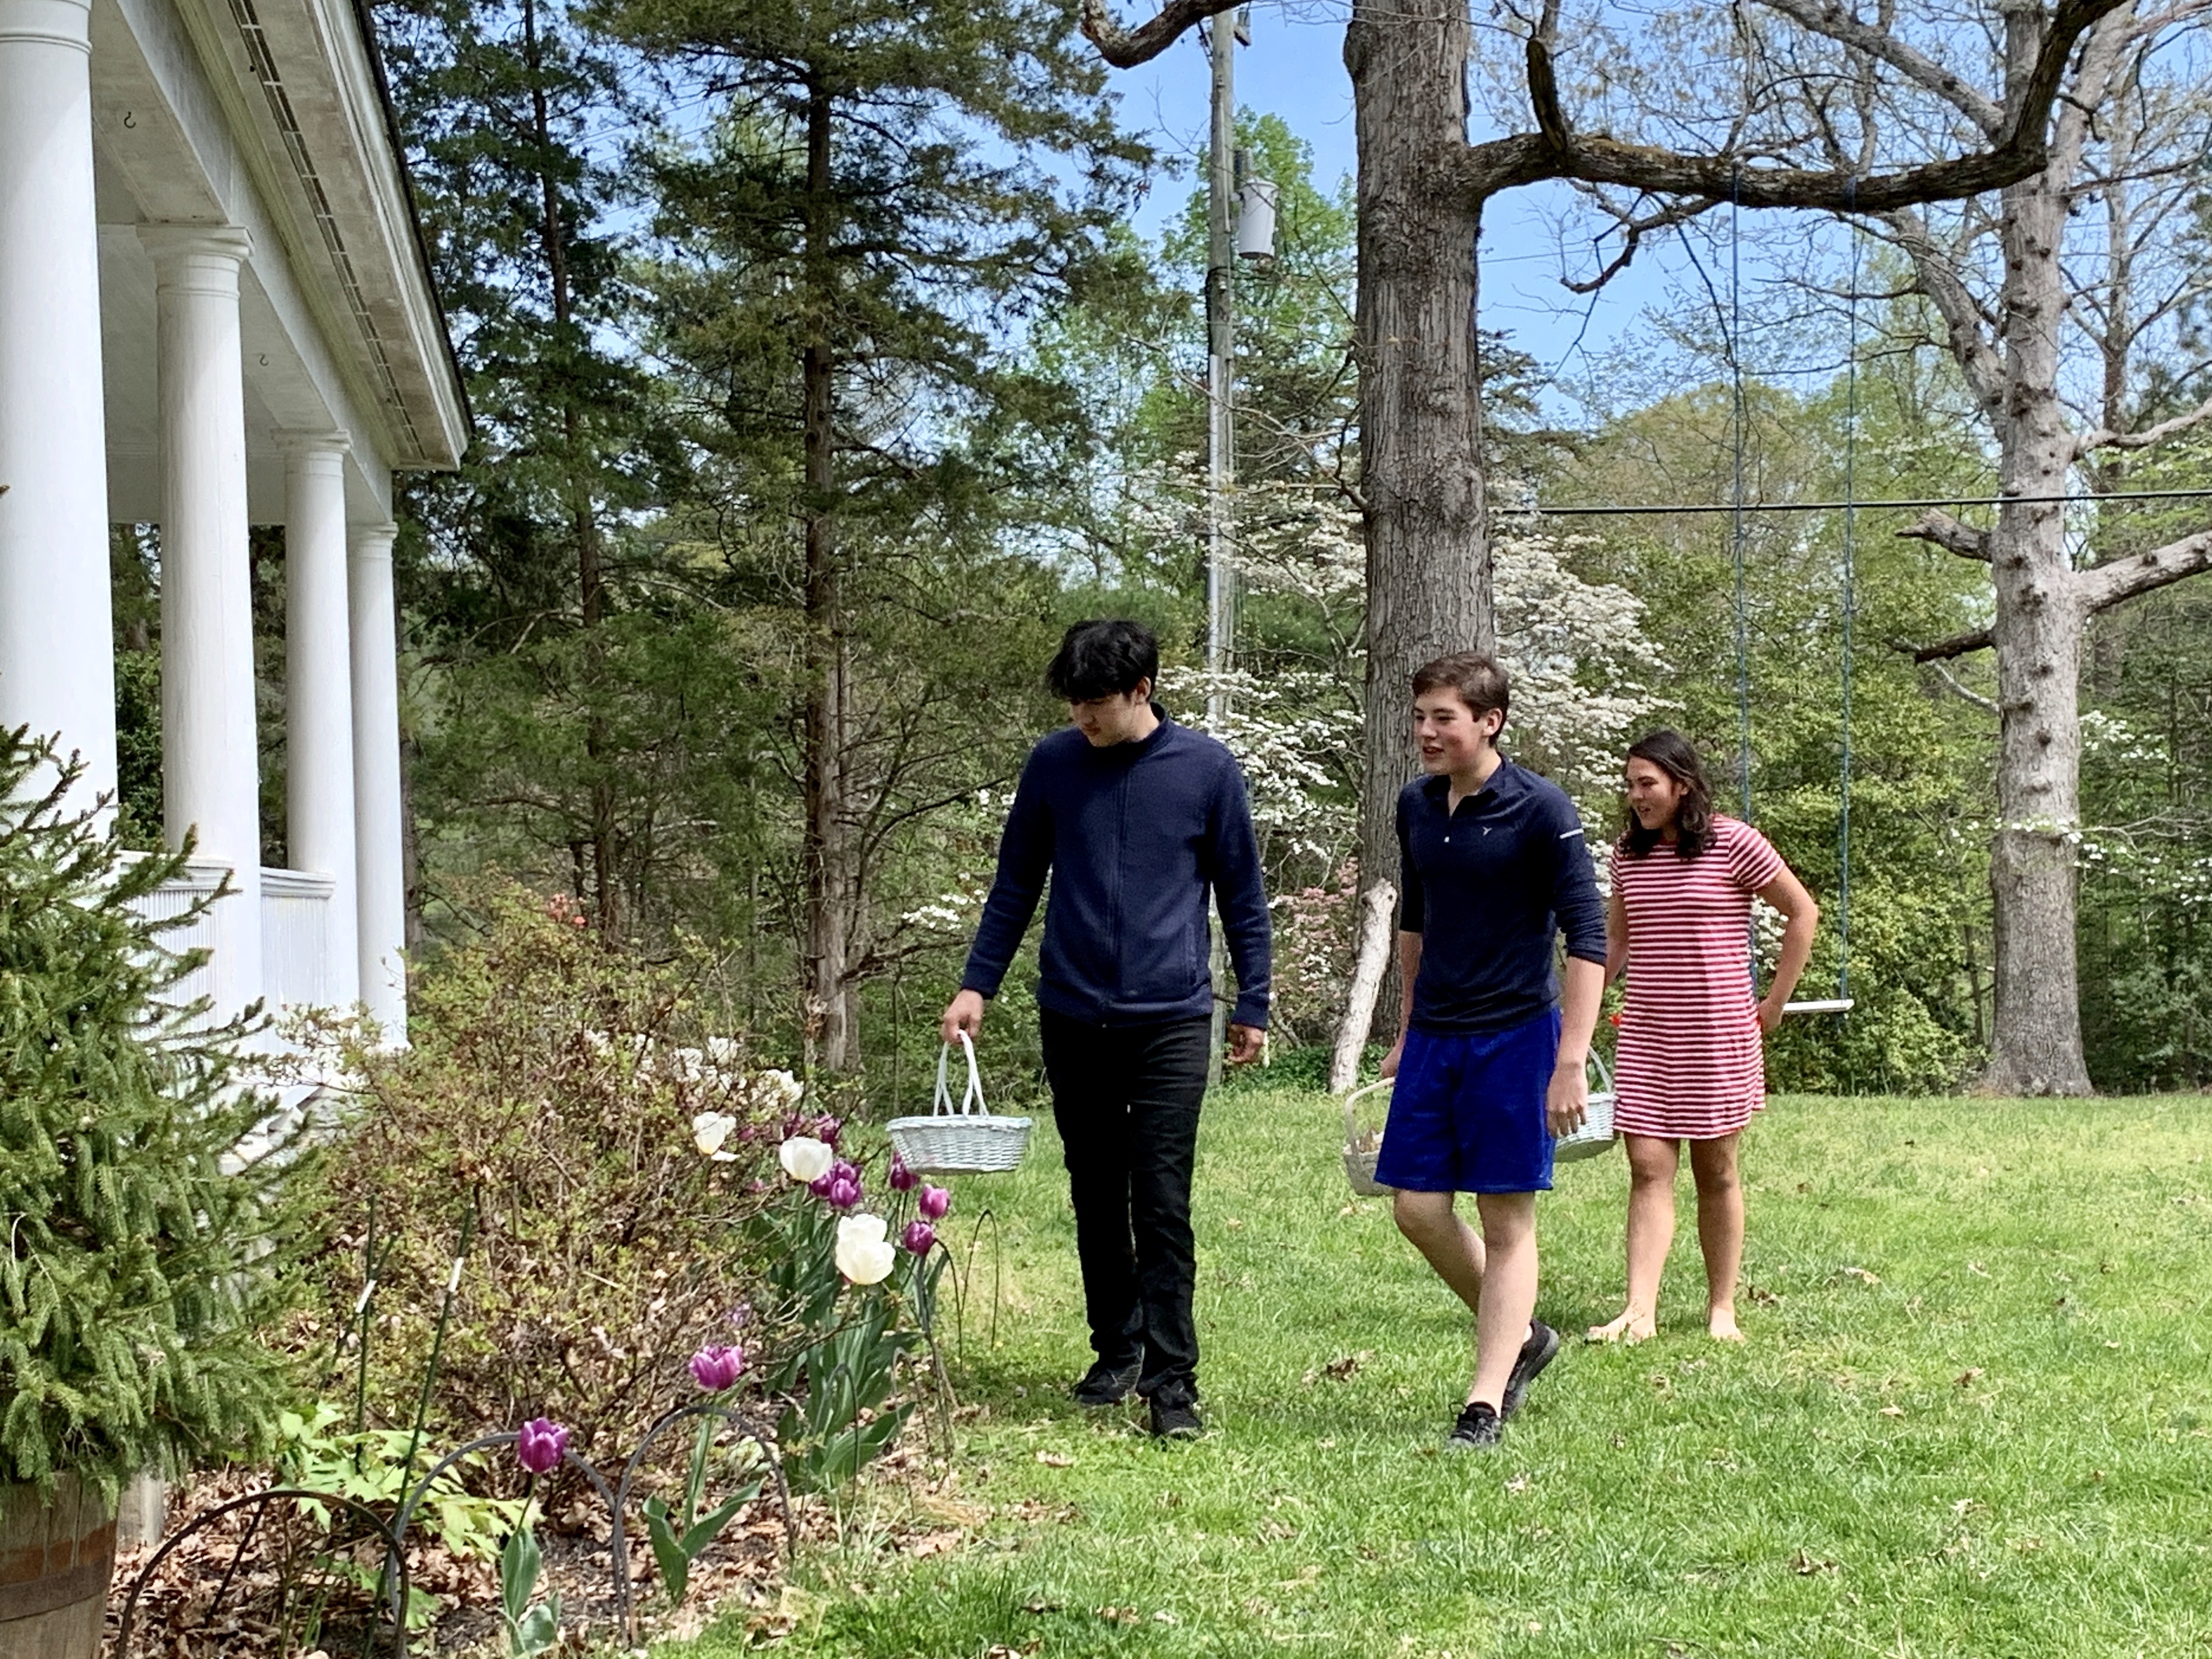
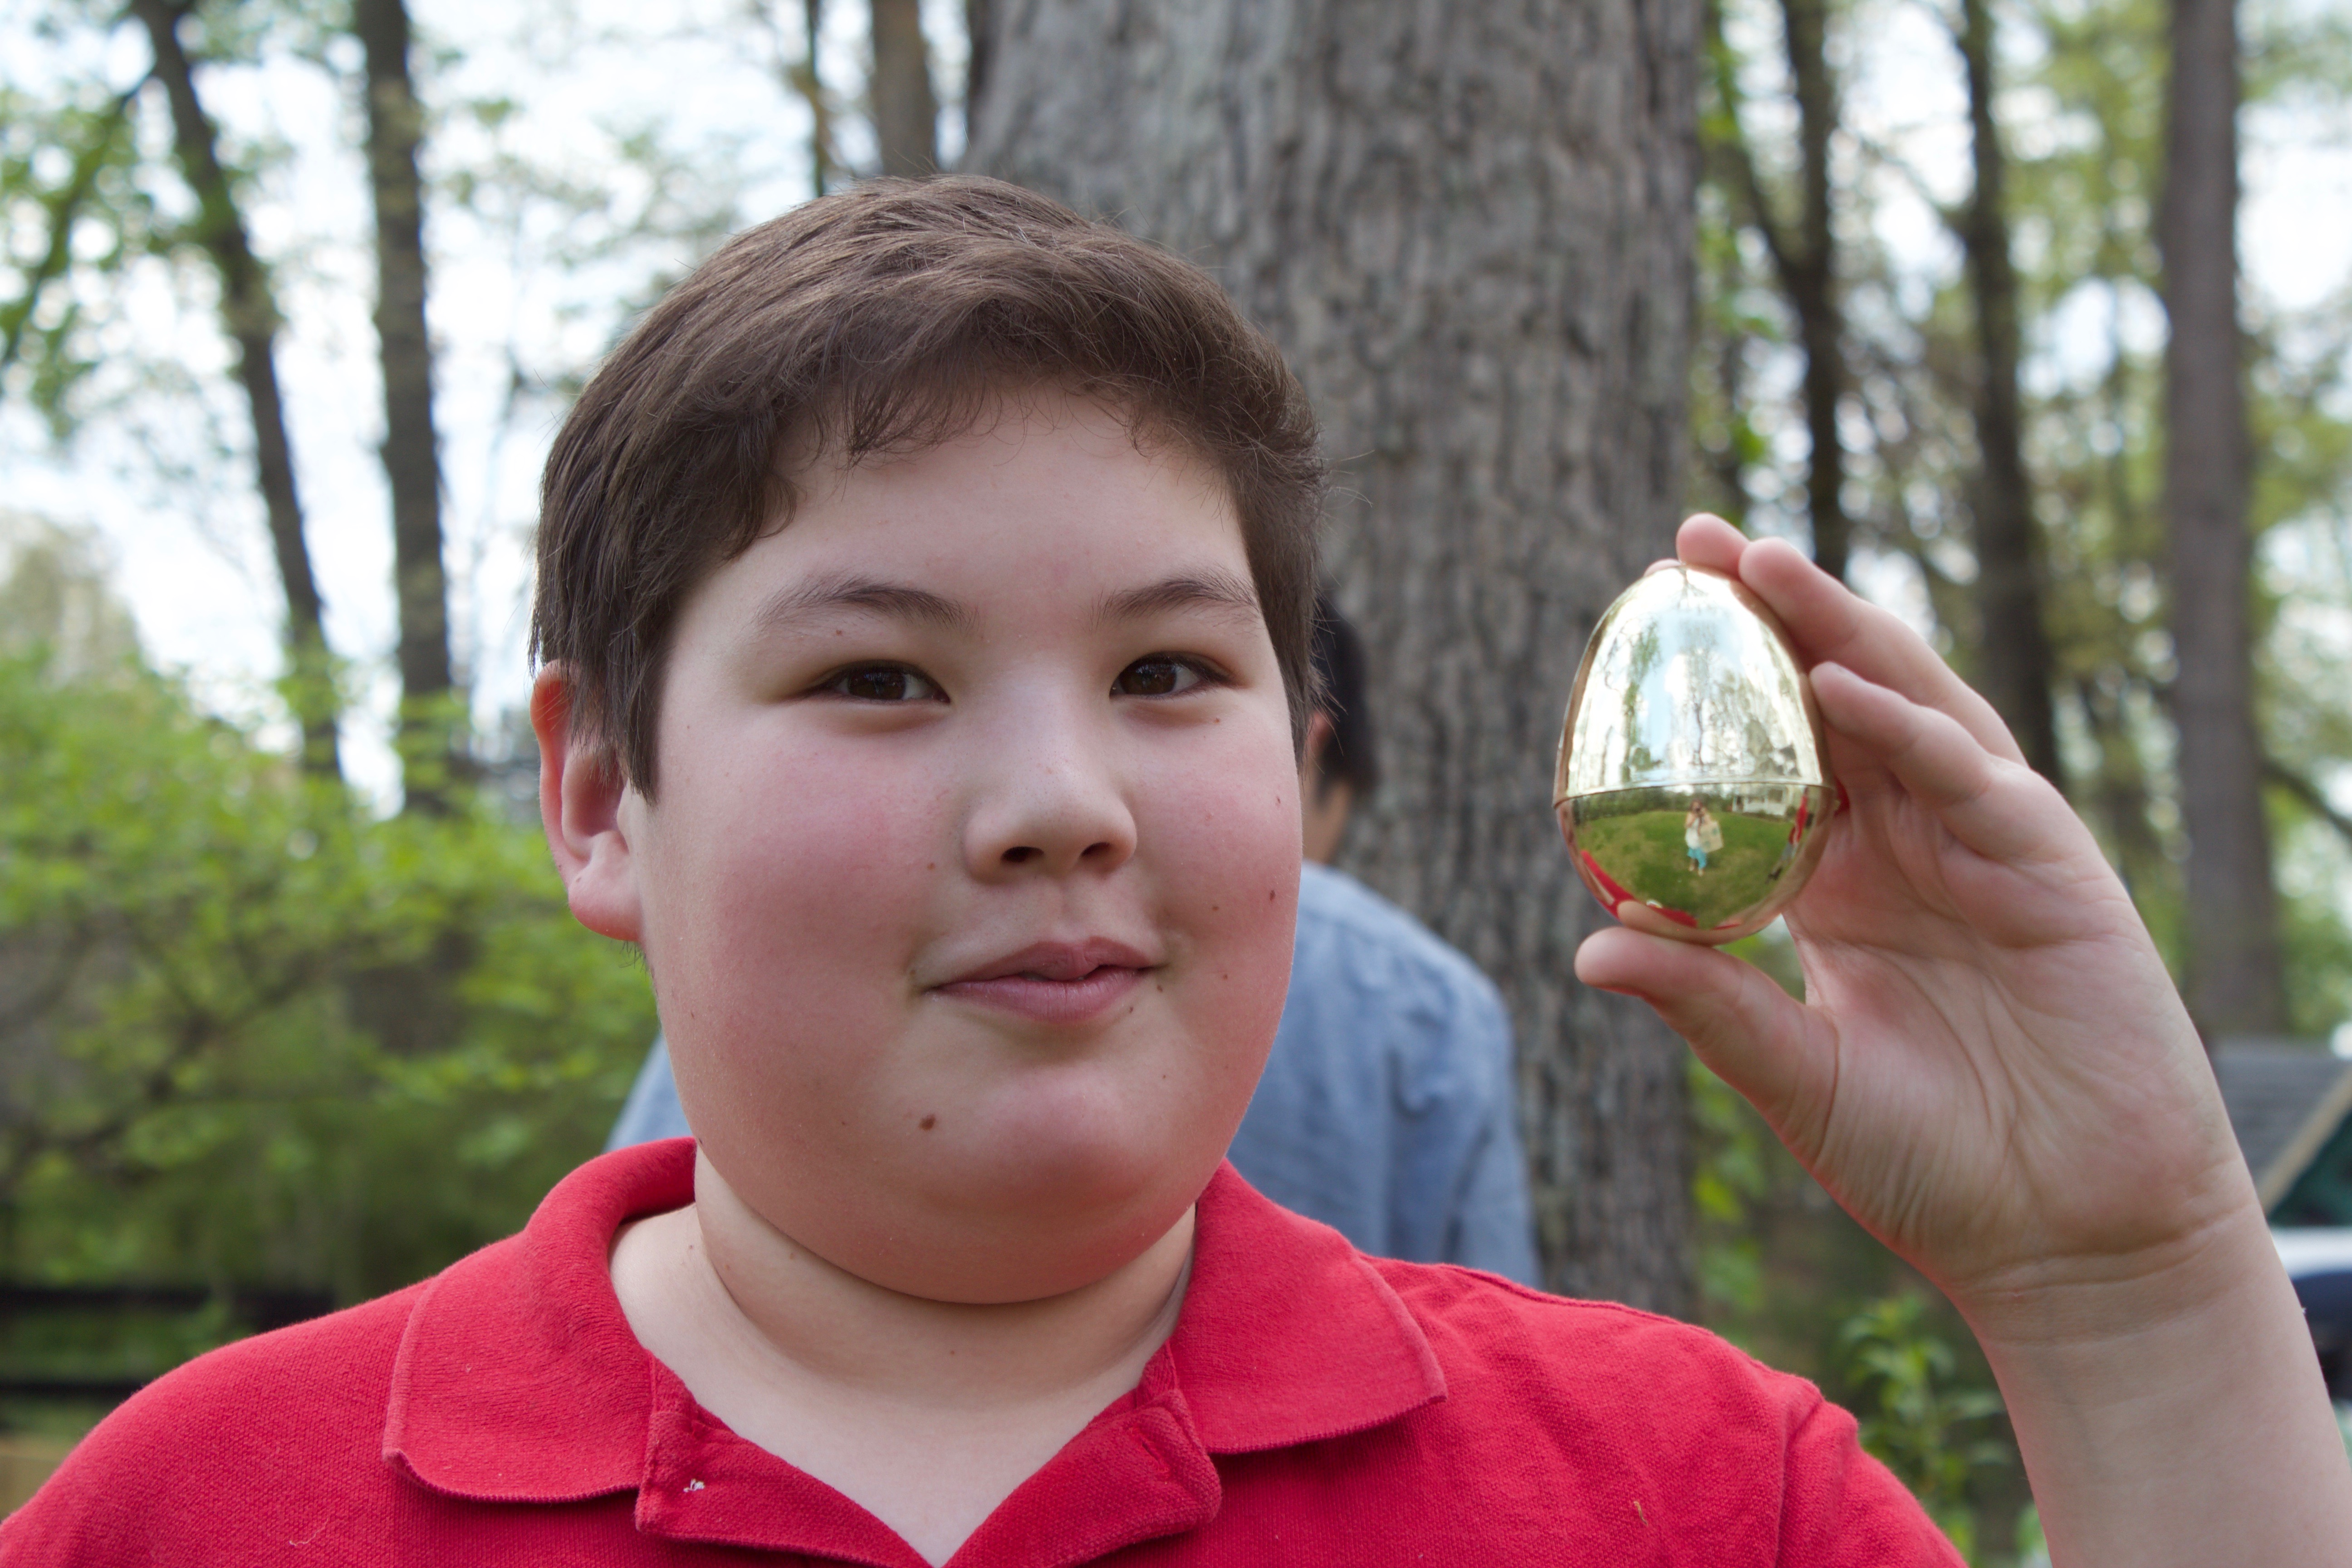
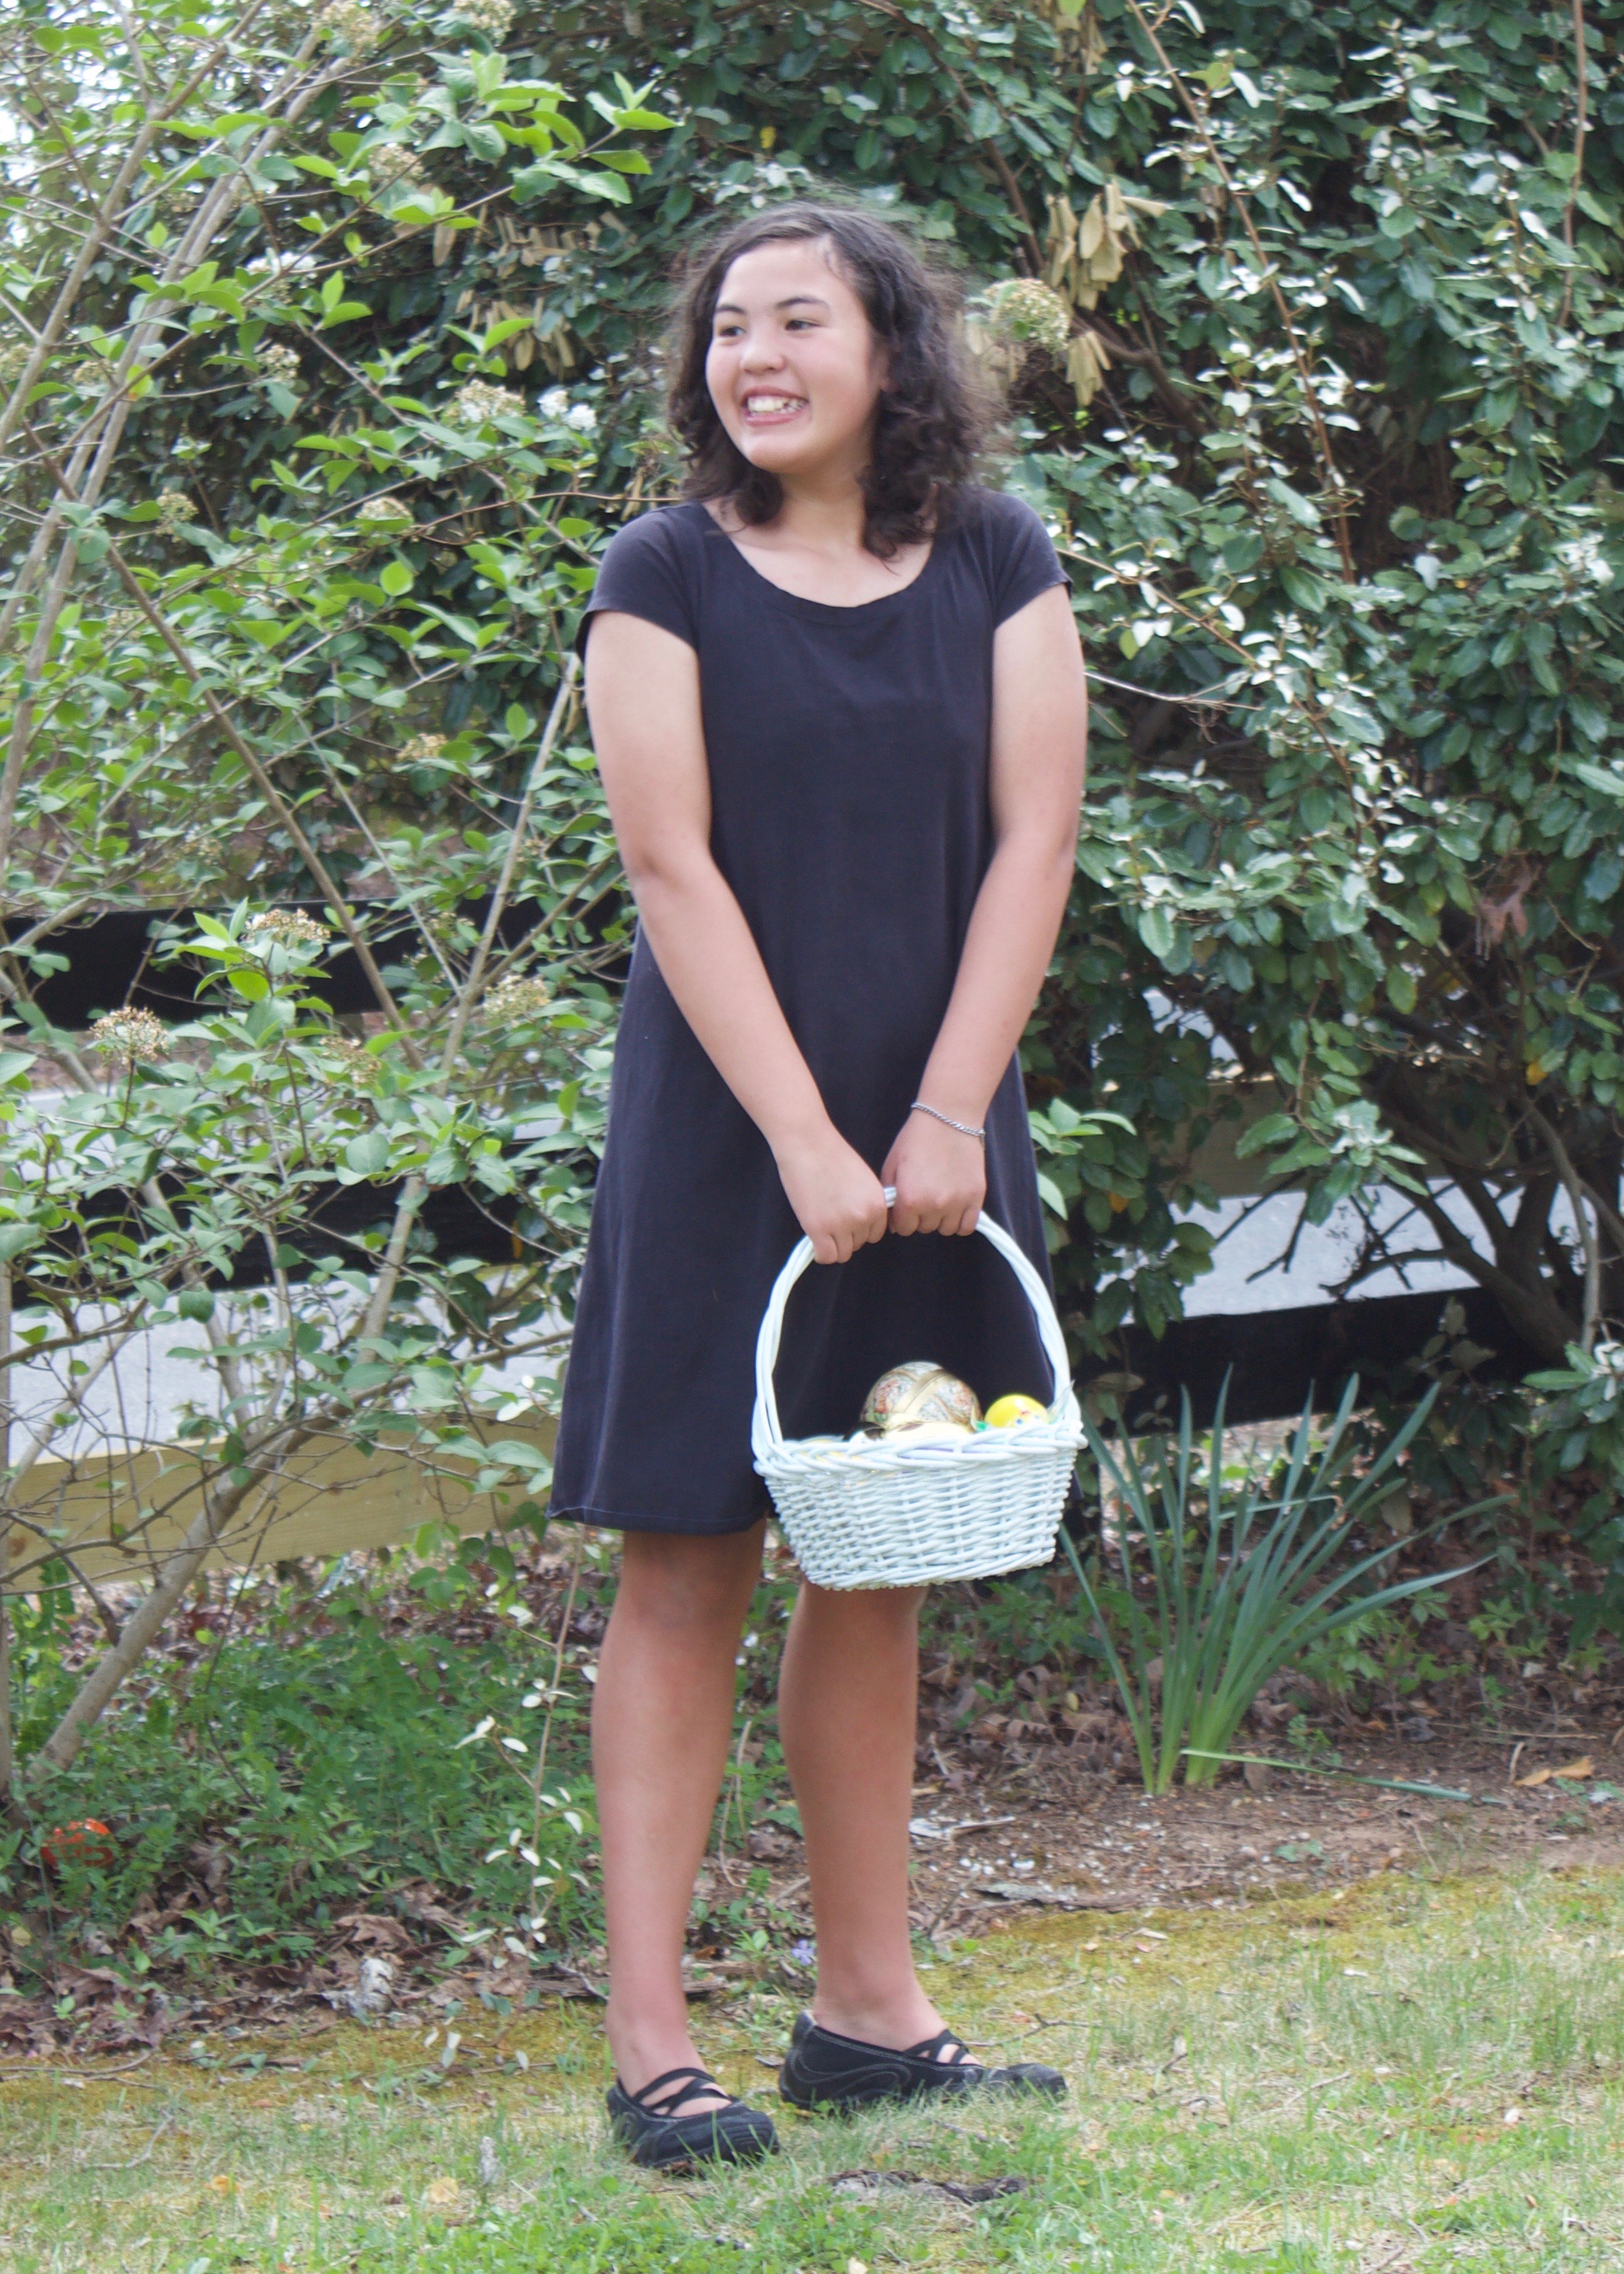
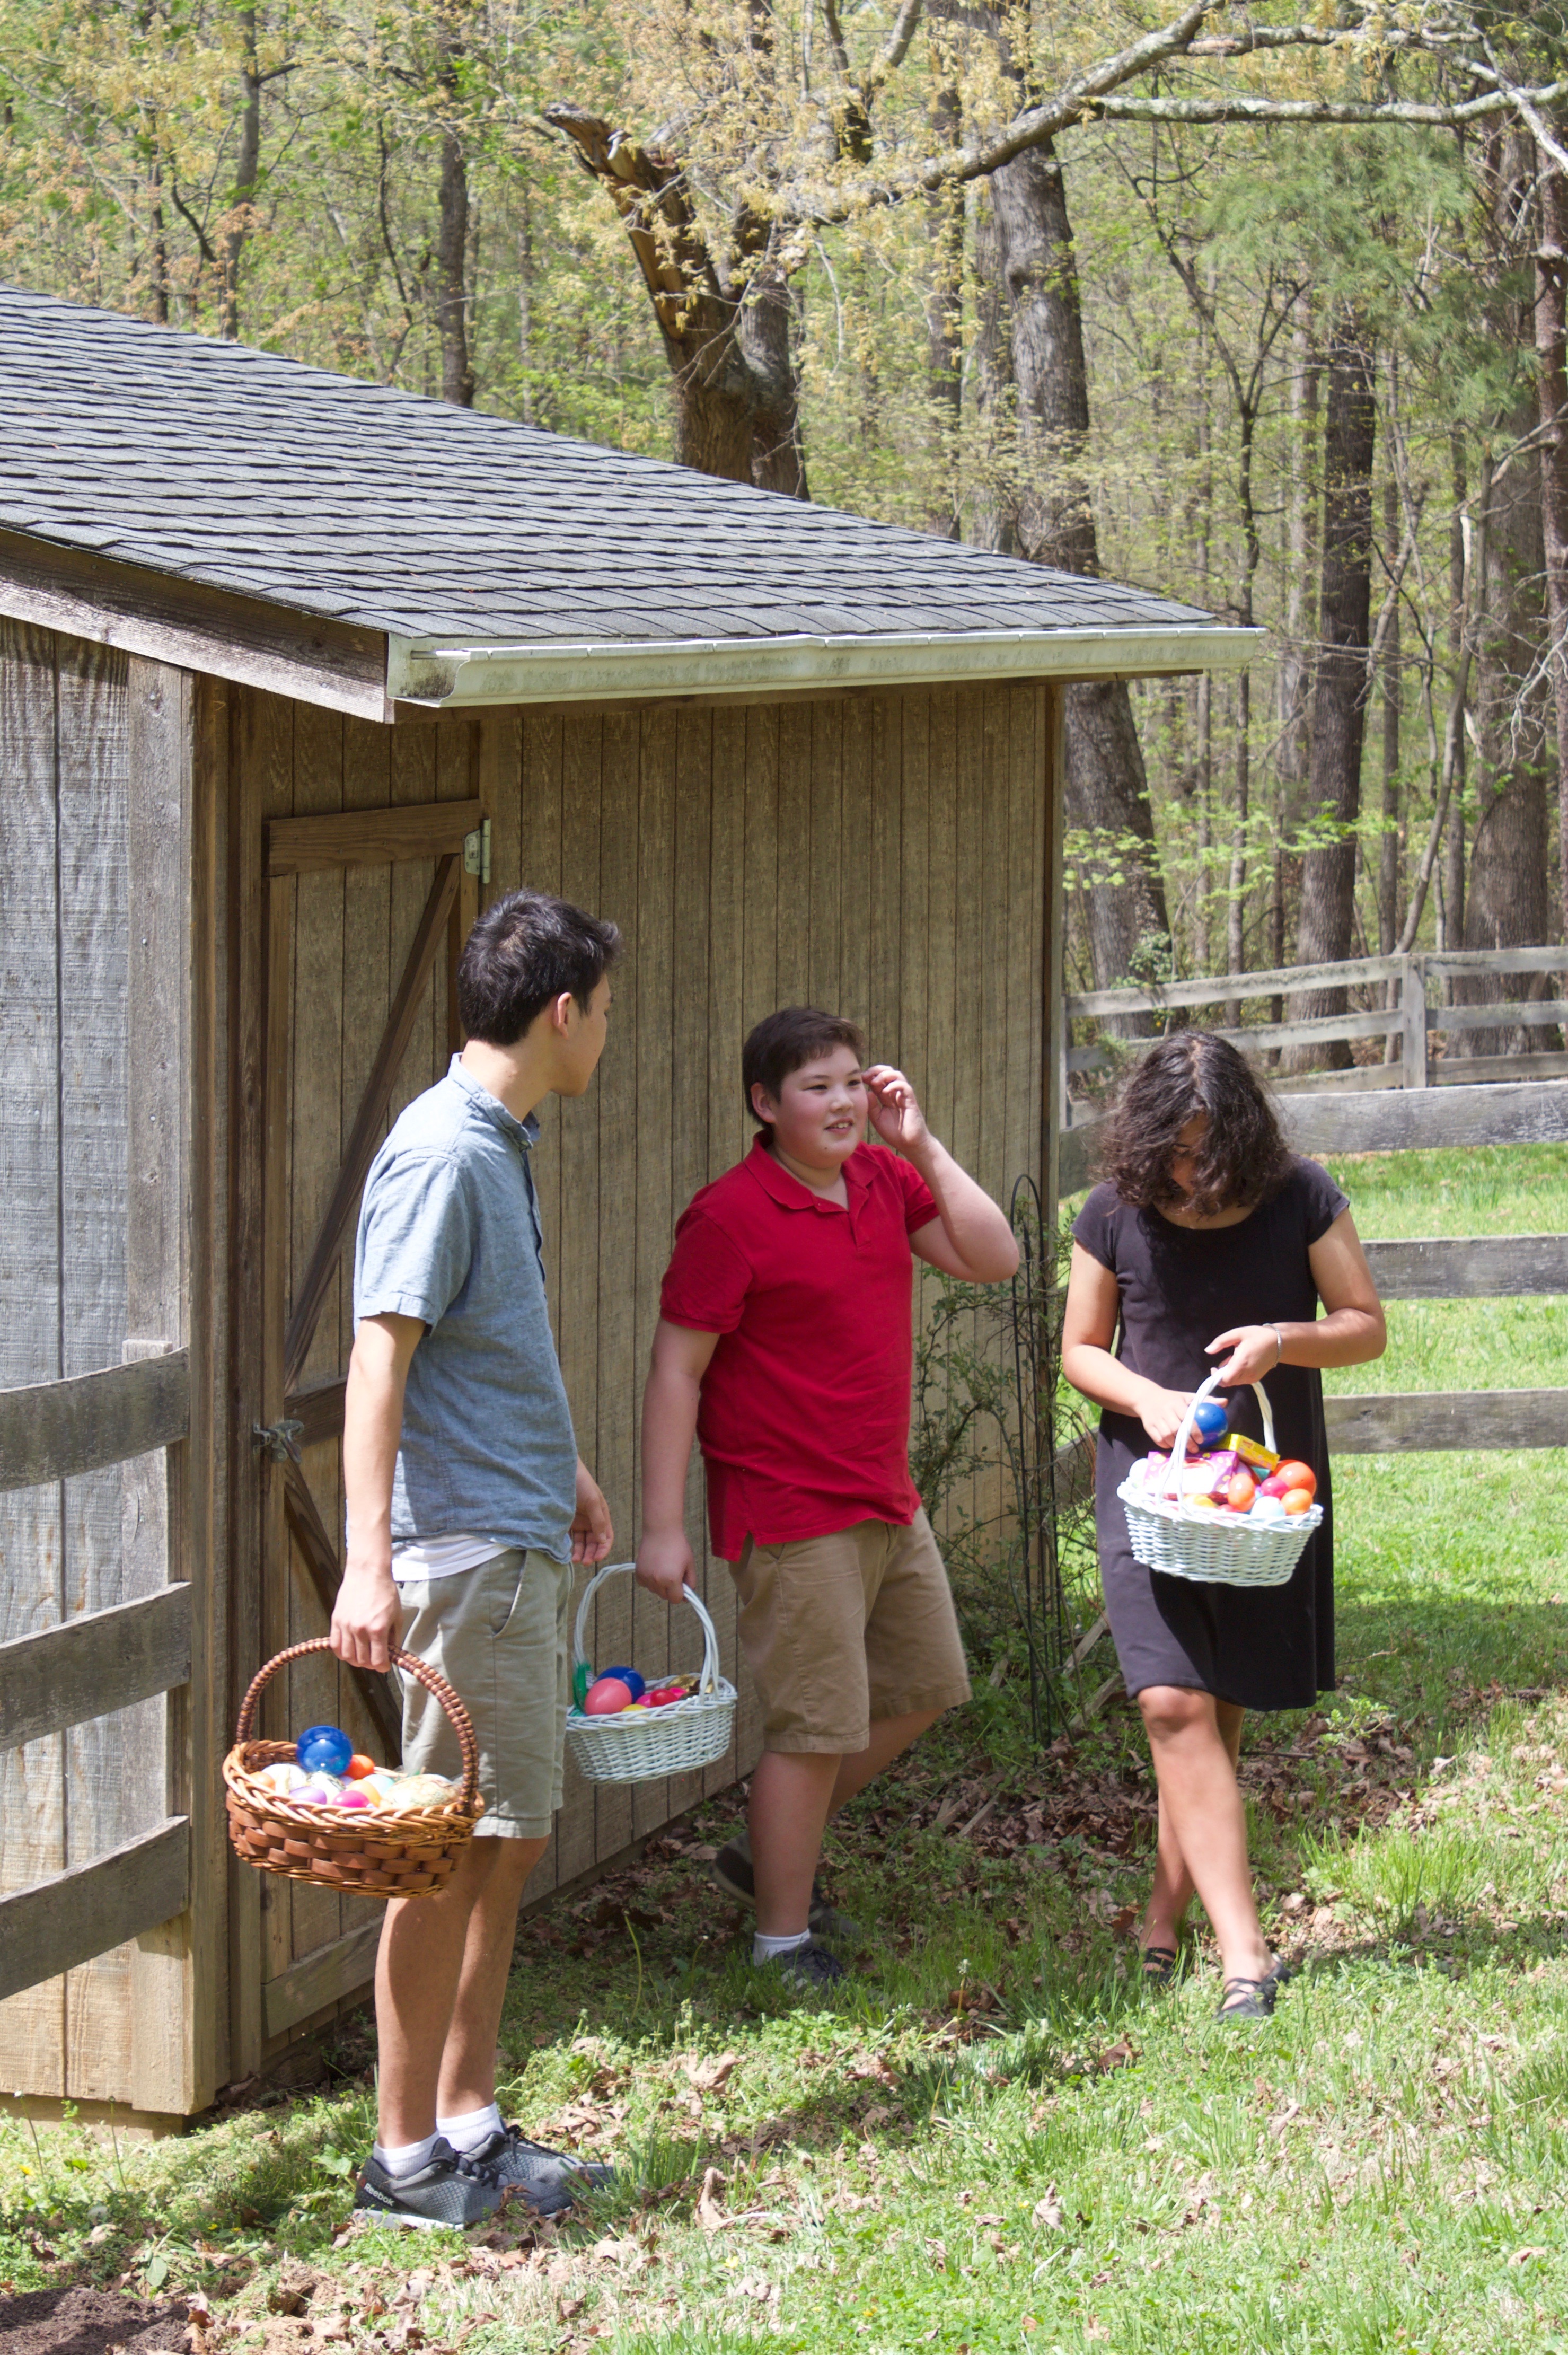
The Easter Bunny visited our house while we were at church and left an obscene amount of candy hidden around the yard.

IMG_3171IMG_3178IMG_3186IMG_3191IMG_3198IMG_3201IMG_3209IMG_3216IMG_3220IMG_3222IMG_3228
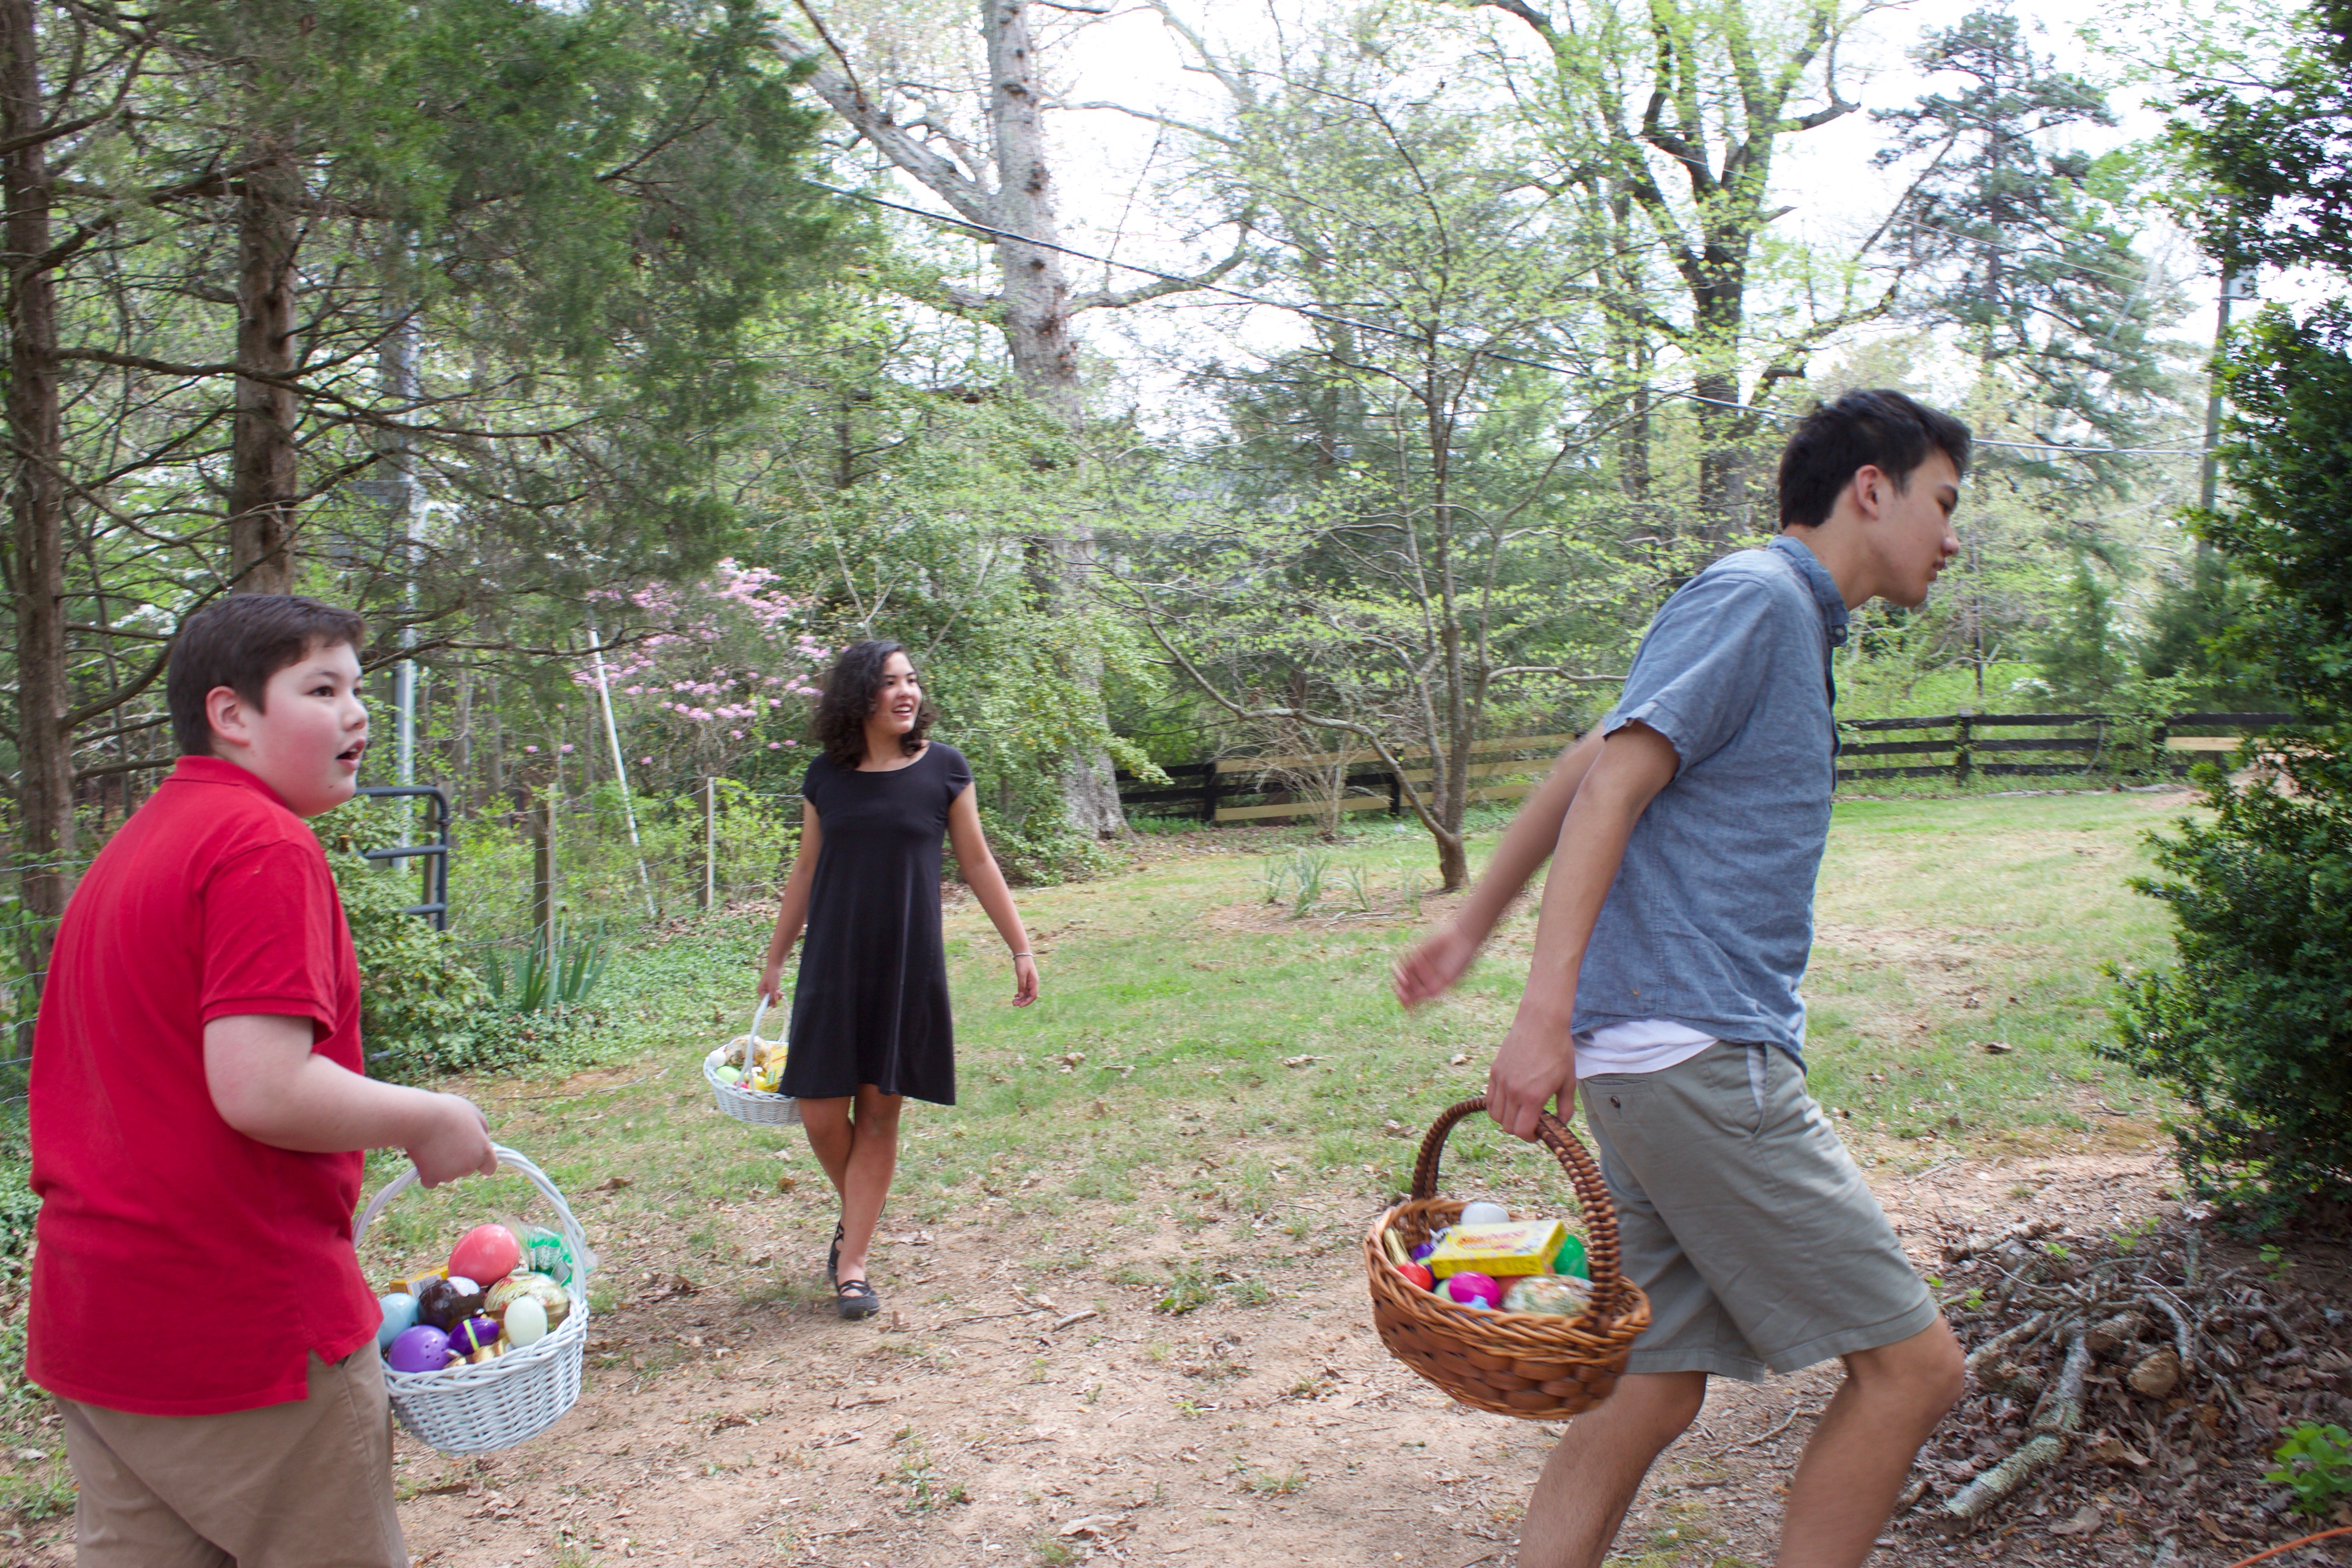
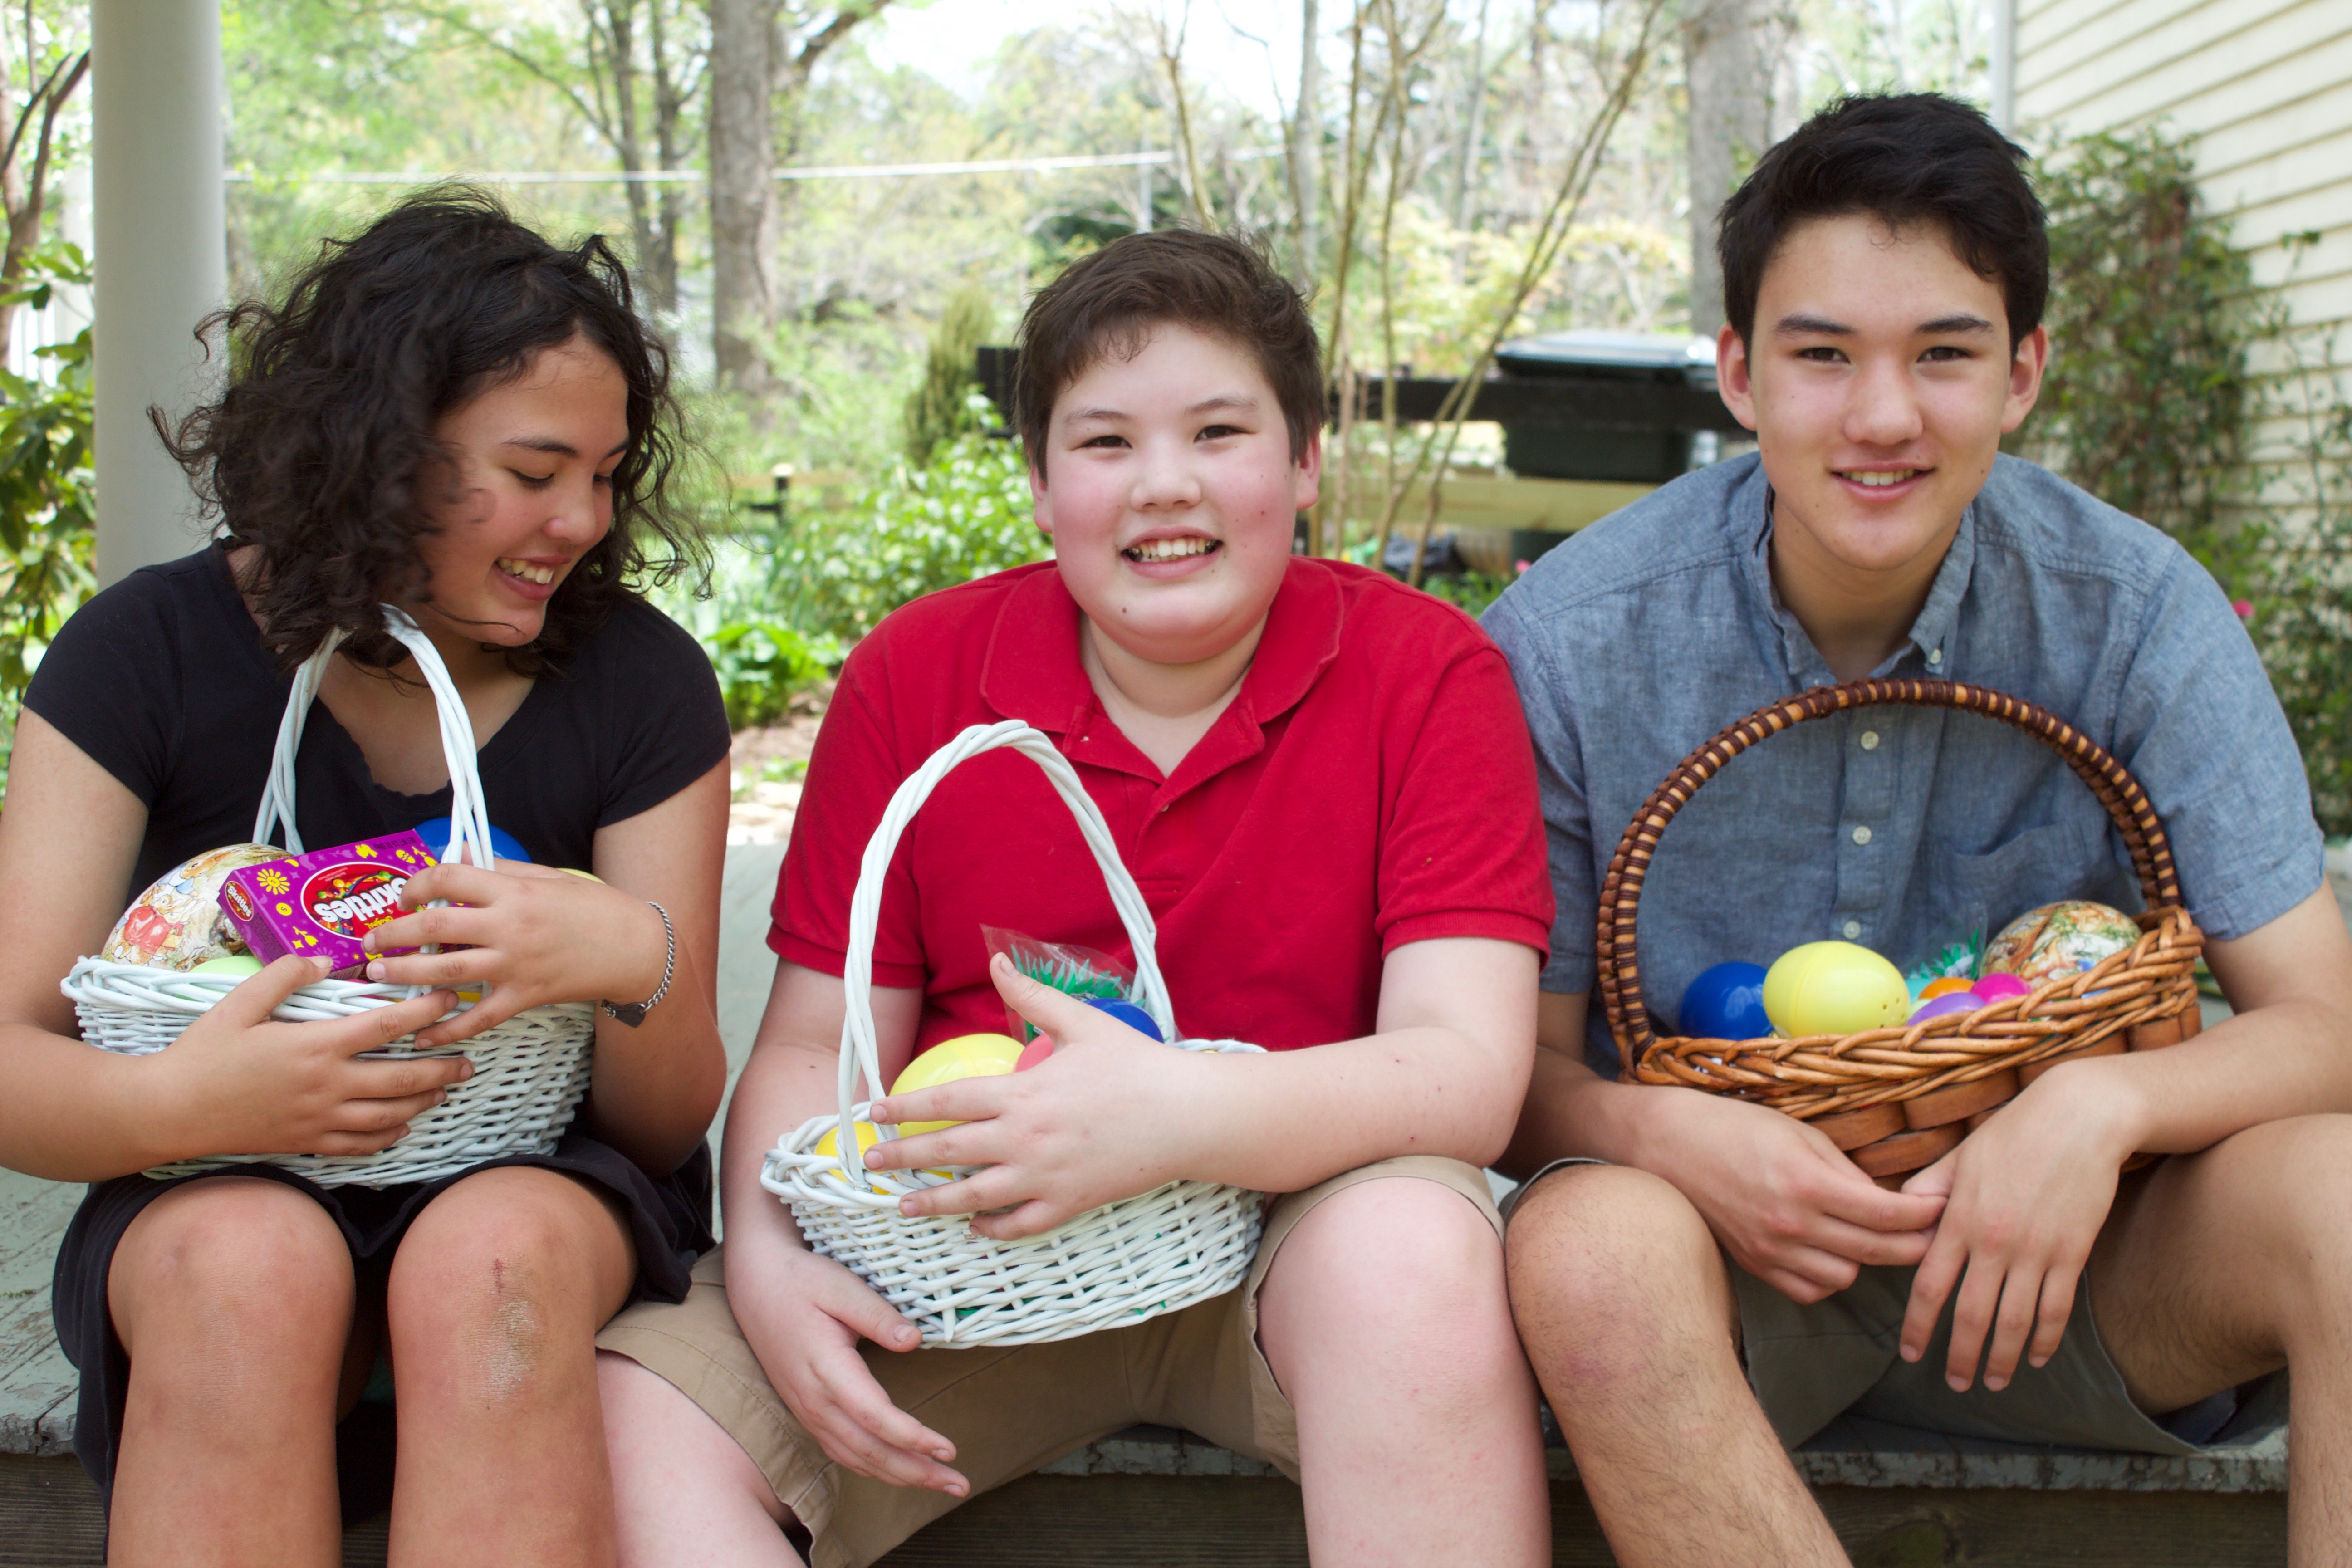
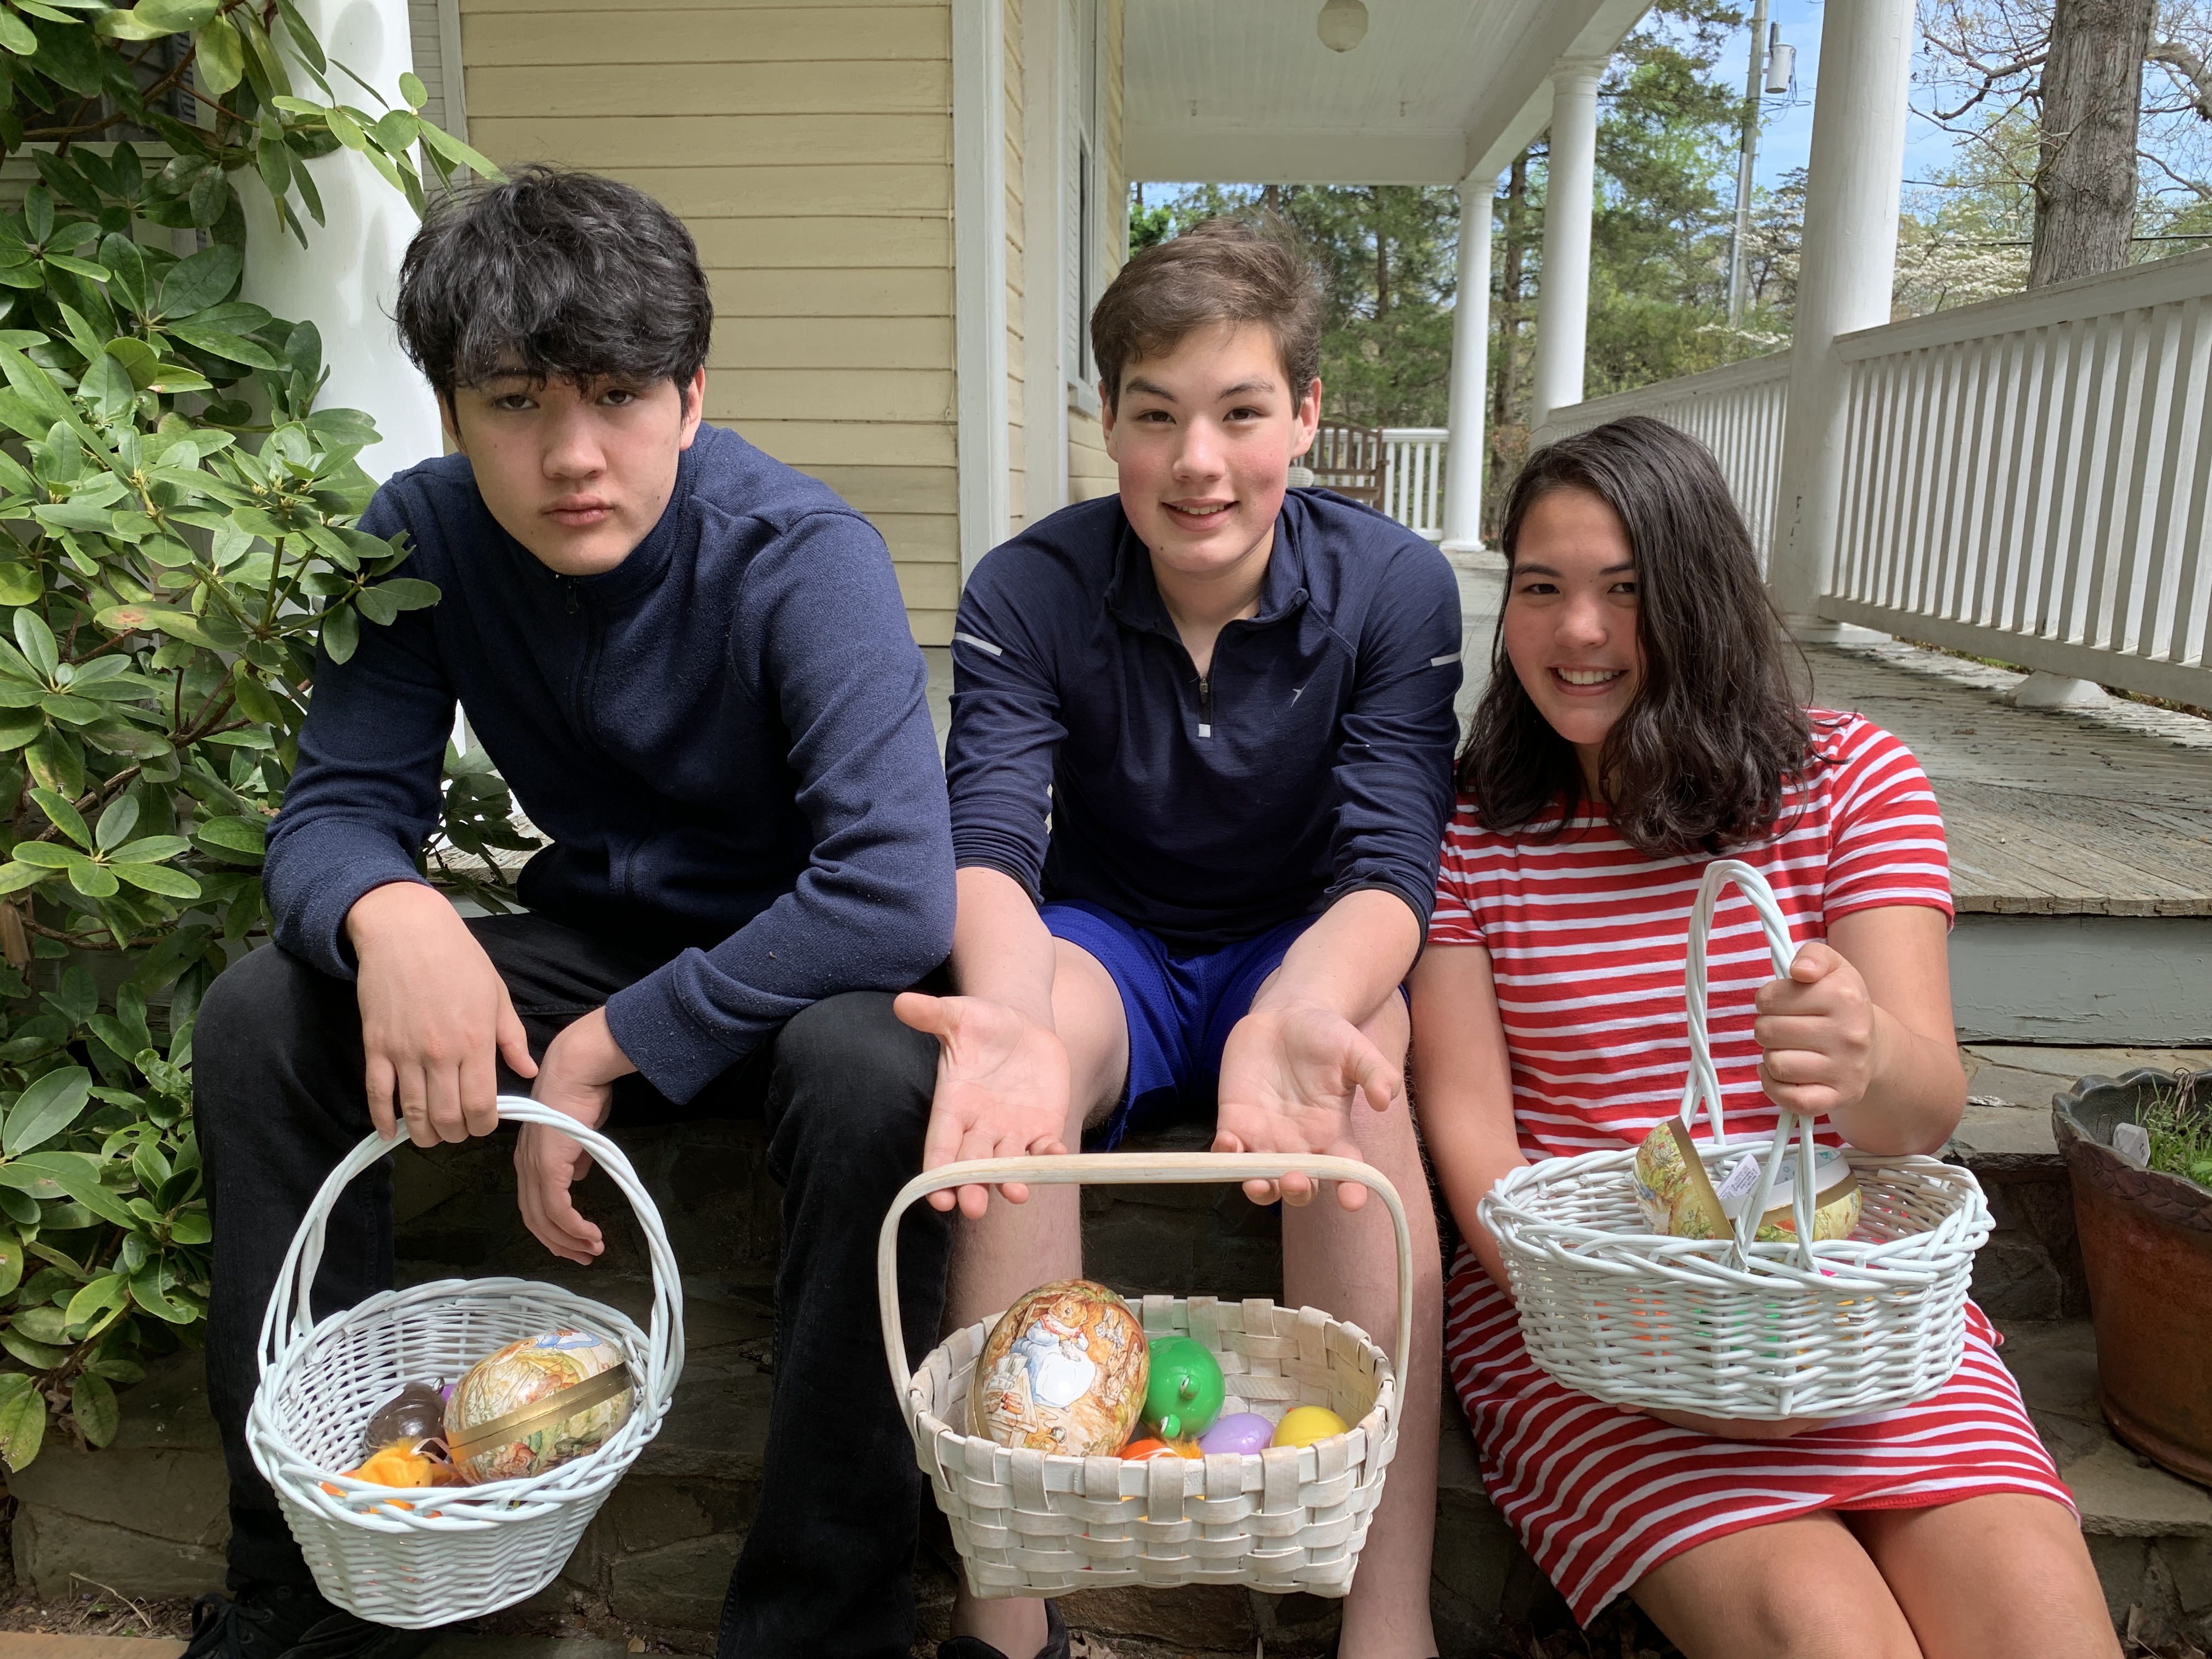
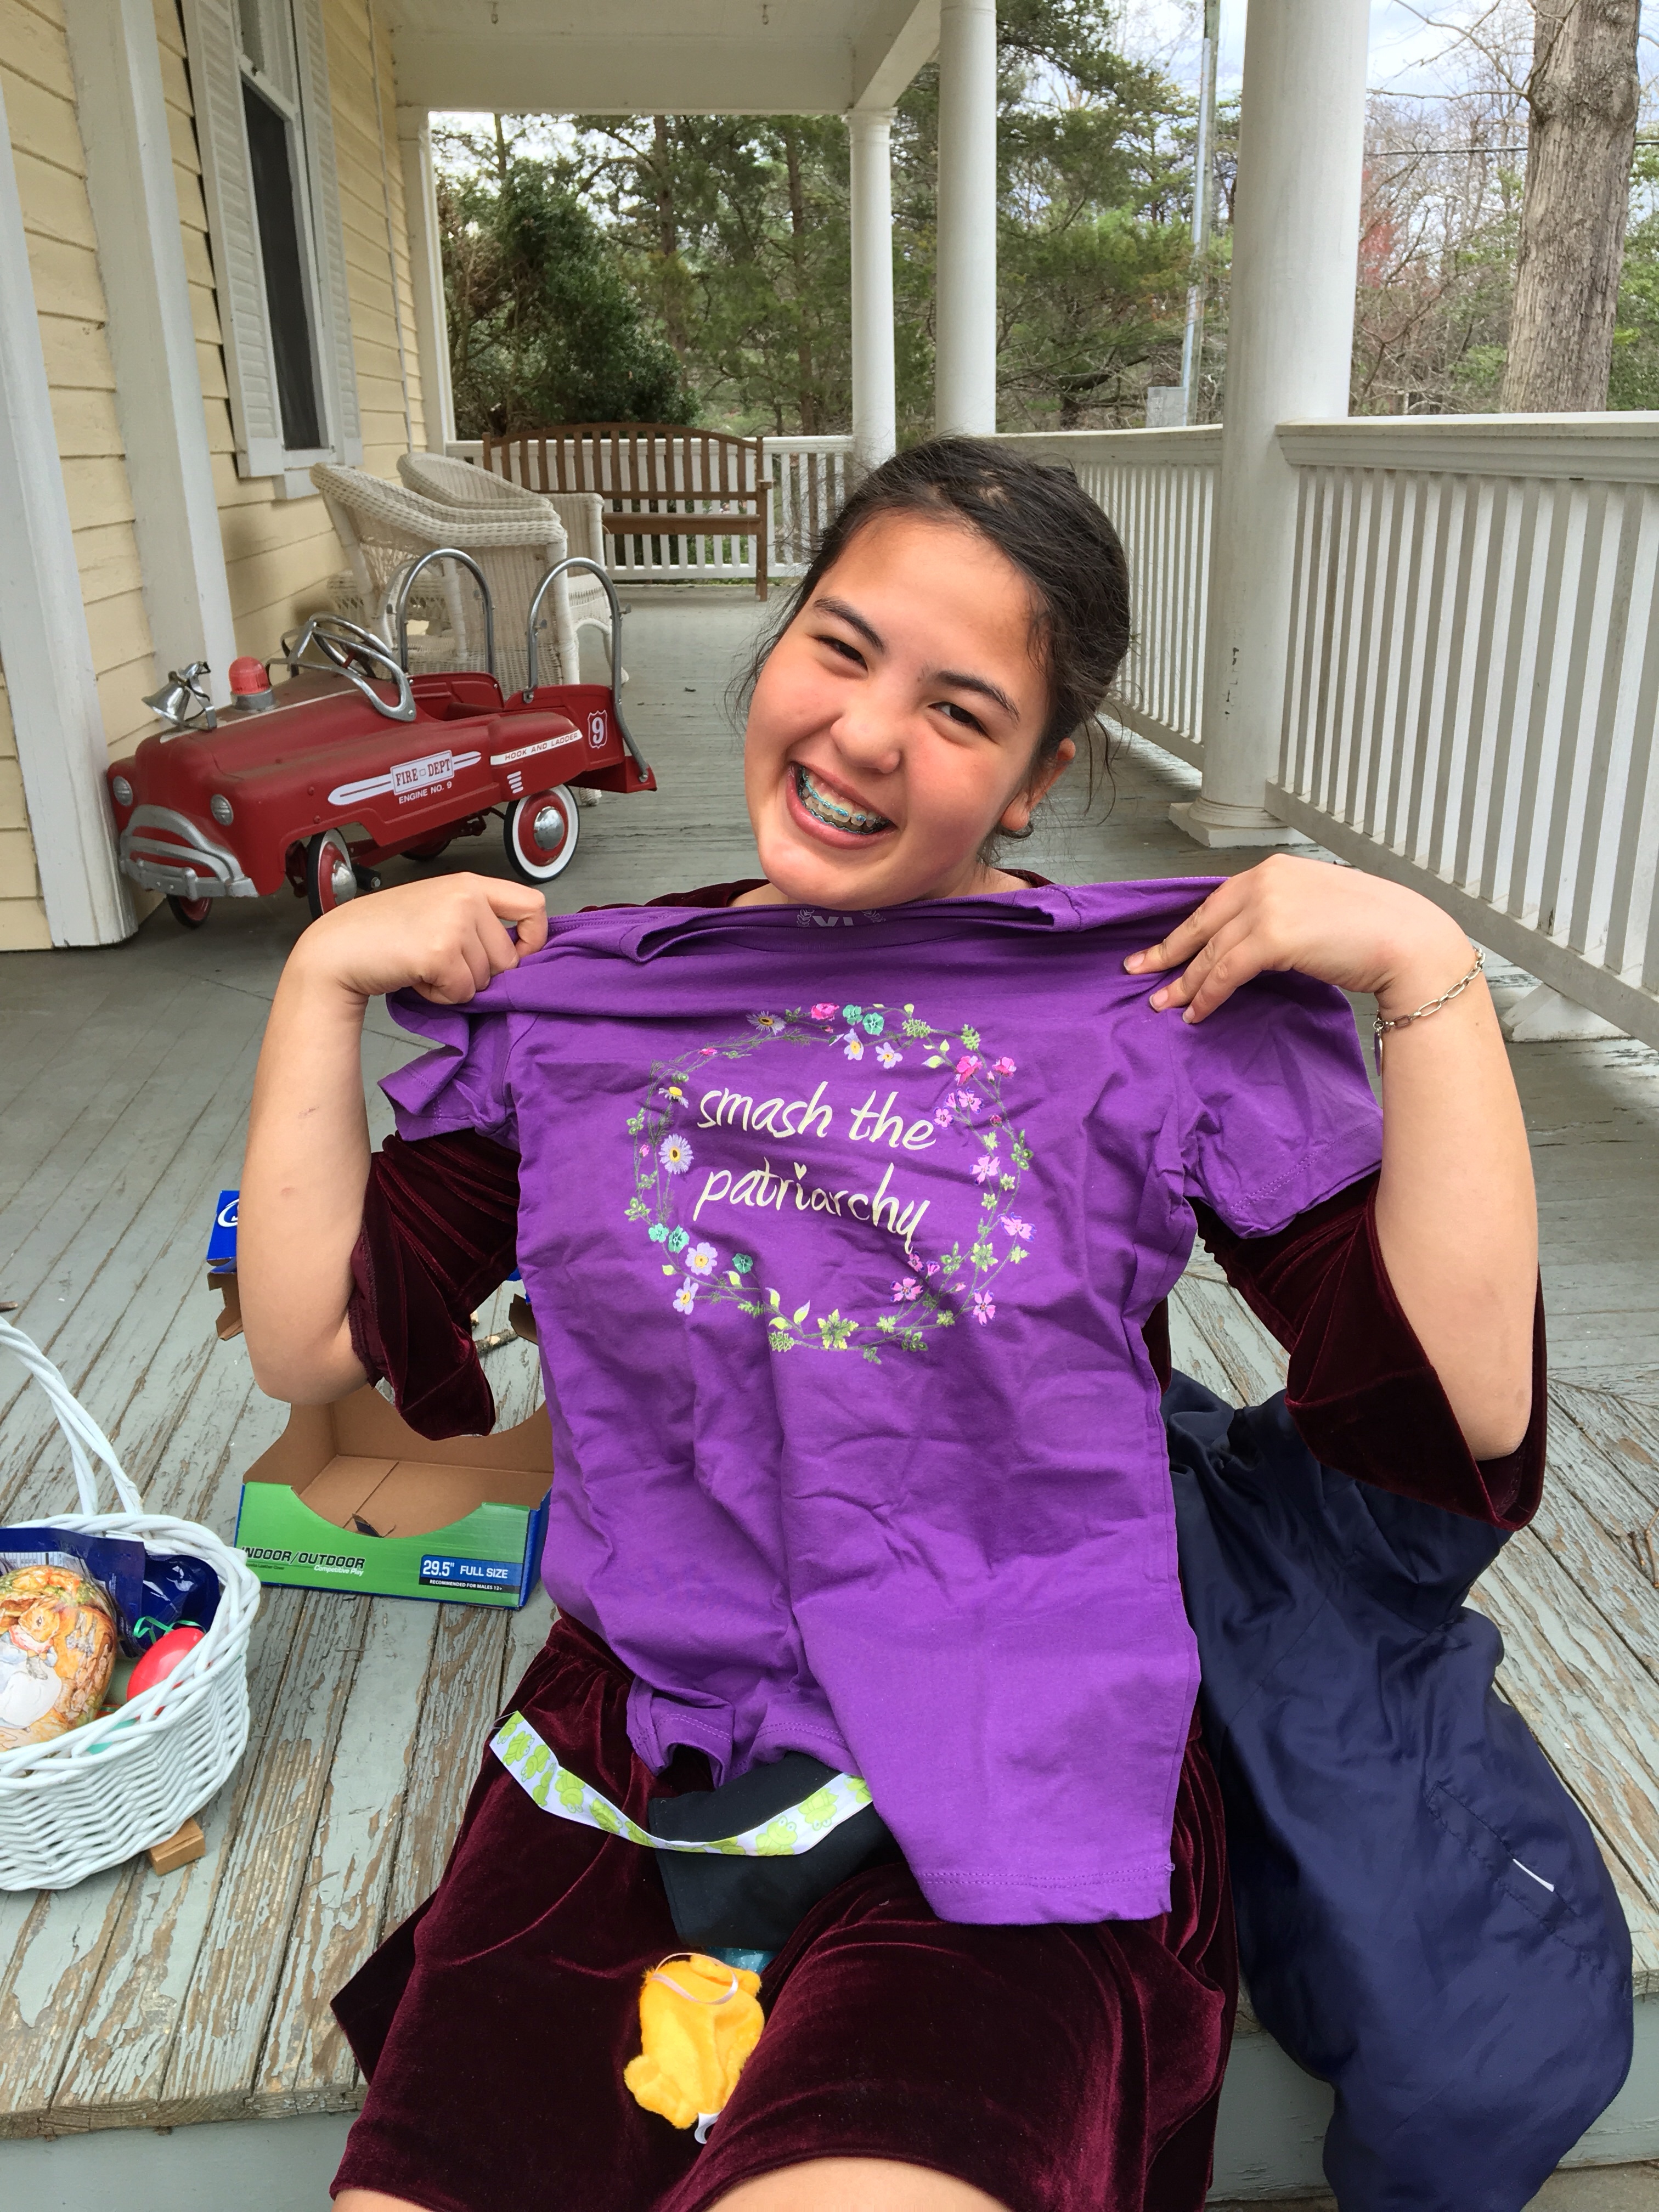
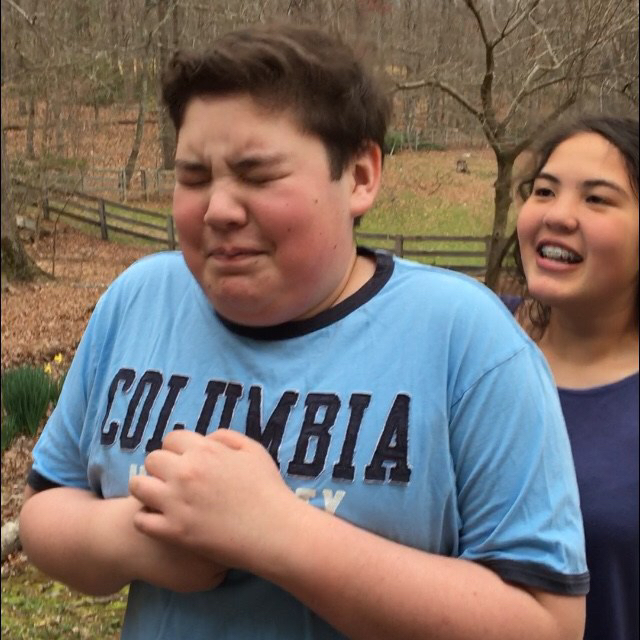
Those beatific smiles disappeared as soon as the Easter Bunny’s mean, mean wife immediately confiscated aaaaaaaallll the candy and hid it away.

And then the poor Easter Bunny, who, after all that egg-hiding,  would have much rather sat on a couch reading a scholarly tome, tried to change the air filters. He ended up having to get four stitches on a very important finger…

IMG_9096 2

IMG_9093


Easter Weekend

We played outside…

And discovered a sweet surprise in our bluebird box:

It would be impossible to improve upon those adorable little eggs, but we dyed a set of ceramic ones:

We helped “flower” a bare cross covered with wire between Easter services:

You’re never too old for an Easter Egg hunt!

My husband and his new friend…

My friend Victoria came to spend the night with us. I made a salad with the carrot flowers my mom taught me how to make:

After dinner we chatted while my friend worked on some teaching projects:

She brought me some beautiful eggs dyed with natural plant dyes:

And shared some photos of the process:

Easter

My husband and I had wanted to have a baby for a long time and we were beginning to worry that it was not going to happen for us. We were thrilled when we discovered that our first, long-awaited and much longed-for baby would be born on Easter Sunday. One Sunday morning early on in the pregnancy, I began spotting. We made a trip to the Emergency Room. After a brief examination and ultrasound, the doctor told us that there was no heartbeat and that I was having a miscarriage. He offered to do a D & C to remove the fetus right there and then. Distraught and brokenhearted, I went home to grieve instead. I returned to the hospital a few days later for a follow up appointment. After a puzzling result from a routine blood test, the doctor sent me for another ultrasound. In a small, dark room we saw the steady flicker of our baby’s heartbeat on a monitor.

Ever since he was no bigger than a kidney bean, this boy has never been one to play by the rules or to go by anyone else’s timetable. Instead of arriving on Easter Sunday, he surprised us by showing up a couple weeks early. On the day he was supposed to be born, we took him to church for the first time. On this, our baby’s first Easter, we joyfully celebrated the miraculous resurrection of the son of God, and of our own beloved son:

Here are a few more photos I dug up from Easters past:

We’re heading up to Arlington today to spend Easter with family and friends. Hope you have a wonderful, wonderful weekend!

Panoramic Sugar Eggs

For the past couple of years, I’ve been taking my kids to the Lorna Sundberg International Center at the University of Virginia to decorate panoramic sugar eggs. When we’ve gone, all the hard work has already been done for us. All we have to do is show up and decorate our already-made eggs. If you’re feeling ambitious, making the eggs from start to finish would be a fun project for Easter or to do over the spring break.

Panoramic Sugar Eggs

  • Whisk 2 egg whites until frothy. You can add food coloring to the egg whites to make a colored egg.
  • Place 5 lbs. of white sugar in a large bowl. (Superfine sugar will give the eggs more sparkle).
  • Create a well in the sugar and pour in whisked egg whites.
  • Mix with hands 5 minutes until well blended.
  • Pack sugar mixture firmly into a mold. You can buy special egg molds, or just use a plastic Easter egg like this one with a flattened base:

  • Scrape tops of packed eggs with a knife to flatten, then remove from mold and place on a baking sheet flat side down.
  • Bake in preheated oven at 200 degrees for 20 minutes.
  • Hollow out the center of the egg halves with a spoon until the shells are about 1/2″ thick. (You can reuse scooped out sugar to make more eggs, just place in bowl and cover with damp paper towel).
  • Cut off the front of the narrower end of the egg and continue to hollow out the viewing window as necessary.
  • Let air dry for 2-3 hours, or put eggs on their backs into a 200 degree oven for another 45 minutes to finish hardening.
  • Gently rub two halves together to smooth edges.
  • Create a scene inside the egg by arranging small figures, candy, and “grass” inside egg. Secure everything with royal icing. (Beat two egg whites until stiff, but not dry. Add 4 cups sifted confectioner’s sugar and beat for another minute. Add more egg white or sugar as needed. Tint with food coloring).
  • Pipe royal icing along an edge and press two halves of egg together. Run finger along edges to remove excess icing.
  • Use pastry bags filled with tinted icing to pipe borders and other decorations on the egg. A decorative border will hide the seams where the egg halves come together. You can pipe your own flowers onto the egg, or buy frosting flowers and attach them with icing.
  • A vertical egg can be made by cutting through the flat egg half, using the flattened area as a cutting guide to create the window. Try creating a base by packing sugar into the rounded wider edge of a plastic egg that opens vertically. Fasten the egg to the rounded side of the base with royal icing.

Eggs can be displayed for Easter, then wrapped in plastic and kept in a dark, dry place. Sugar eggs will last indefinitely.

Here are some eggs the kids and I made a couple years ago:

Panoramic Sugar Eggs at the International Center

The Lorna Sundberg International Center, a division of the International Studies Office at the University of Virginia, is one of Charlottesville’s greatest treasures. The Center is located at 21 University Circle, in a grand old brick house built in 1914. When you enter you may be greeted by the cozy whistling of a silver samovar boiling up water for tea. The living room is filled with comfortable furniture and beautiful treasures from all over the world given as gifts by the many international guests who have stayed there over the years.

The International Center provides short-term lodgings for visiting scholars, meeting and reception space, and a variety of intercultural classes and workshops for the community that are almost always free. Subscribe to the monthly newsletter to find out what’s being offered and register in advance. Classes fill quickly!

Events coming up in April include: “Language Jumpstart: French,”  a lecture on “Chinese Medicine and Culture,”  “Step into Africa,” a Bluegrass Picnic and hoedown with live music, cooking classes on Brazilian, Singaporean, Chinese, Pakistani, and Southern cuisine, and a Zumba workshop. Ongoing, free English as a Second Language classes are offered throughout the year. Classes are led by volunteers, so if you have a special interest or area of expertise, it’s a wonderful way to get involved and to meet people from all over the world.

On Friday I took the kids to the International Center to make Panoramic Sugar Eggs. A tutorial and all the supplies were provided.

Here’s how you can make your own panoramic sugar eggs at home:

  • Whisk 2 egg whites until frothy. You can add food coloring to the egg whites if you’d like a colored egg.
  • Place 5 lbs. of white sugar in a large bowl. (Superfine sugar will give the eggs more sparkle).
  • Create a well in the sugar and pour in whisked egg whites.
  • Mix with hands 5 minutes until well blended.
  • Pack sugar mixture firmly into a mold. You can buy special egg molds, or just use a plastic Easter egg like this one with a flattened base:

IMG_1748

  • Scrape tops of packed eggs with a knife to flatten, then remove from mold and place on a baking sheet flat side down.
  • Bake in preheated oven at 200 degrees for 20 minutes.
  • Hollow out the center of the egg halves with a spoon until the shells are about 1/2″ thick. (You can reuse scooped out sugar to make more eggs, just place in bowl and cover with damp paper towel).
  • Cut off the front of the narrower end of the egg and continue to hollow out the viewing window as necessary.
  • Let air dry for 2-3 hours, or put eggs on their backs into a 200 degree oven for another 45 minutes to finish hardening.
  • Gently rub two halves together to smooth edges.
  • Create a scene inside the egg by arranging small figures, candy, and “grass” inside egg. Secure everything with royal icing. (Beat two egg whites until stiff, but not dry. Add 4 cups sifted confectioner’s sugar and beat for another minute. Add more egg white or sugar as needed. Tint with food coloring).
  • Pipe royal icing along an edge and press two halves of egg together. Run finger along edges to remove excess icing.
  • Use pastry bags filled with tinted icing to pipe borders and other decorations on the egg. A decorative border will hide the seams where the egg halves come together. You can pipe your own flowers onto the egg, or buy frosting flowers and attach them with icing.

A vertical egg can be made by cutting through the flat egg half, using the flattened area as a cutting guide to create the window. Try creating a base by packing sugar into the rounded wider edge of a plastic egg that opens vertically. Fasten the egg to the rounded side of the base with royal icing.

Eggs can be displayed for Easter, then wrapped in plastic and kept in a dark, dry place. Sugar eggs will last indefinitely.

Here are the eggs we made:

Enhanced by Zemanta